Start by separating the eggs. Refer to the Chantilly Cake tutorial (Part 2) here.
Next whip the egg whites. Refer to the Chantilly Cake tutorial (Part 3) here. Place the whipped egg whites into a large mixing bowl, pushing them to one side of the bowl.
In a separate bowl, whisk together the flour, 3/4 c. sugar, baking powder and salt. Set aside.
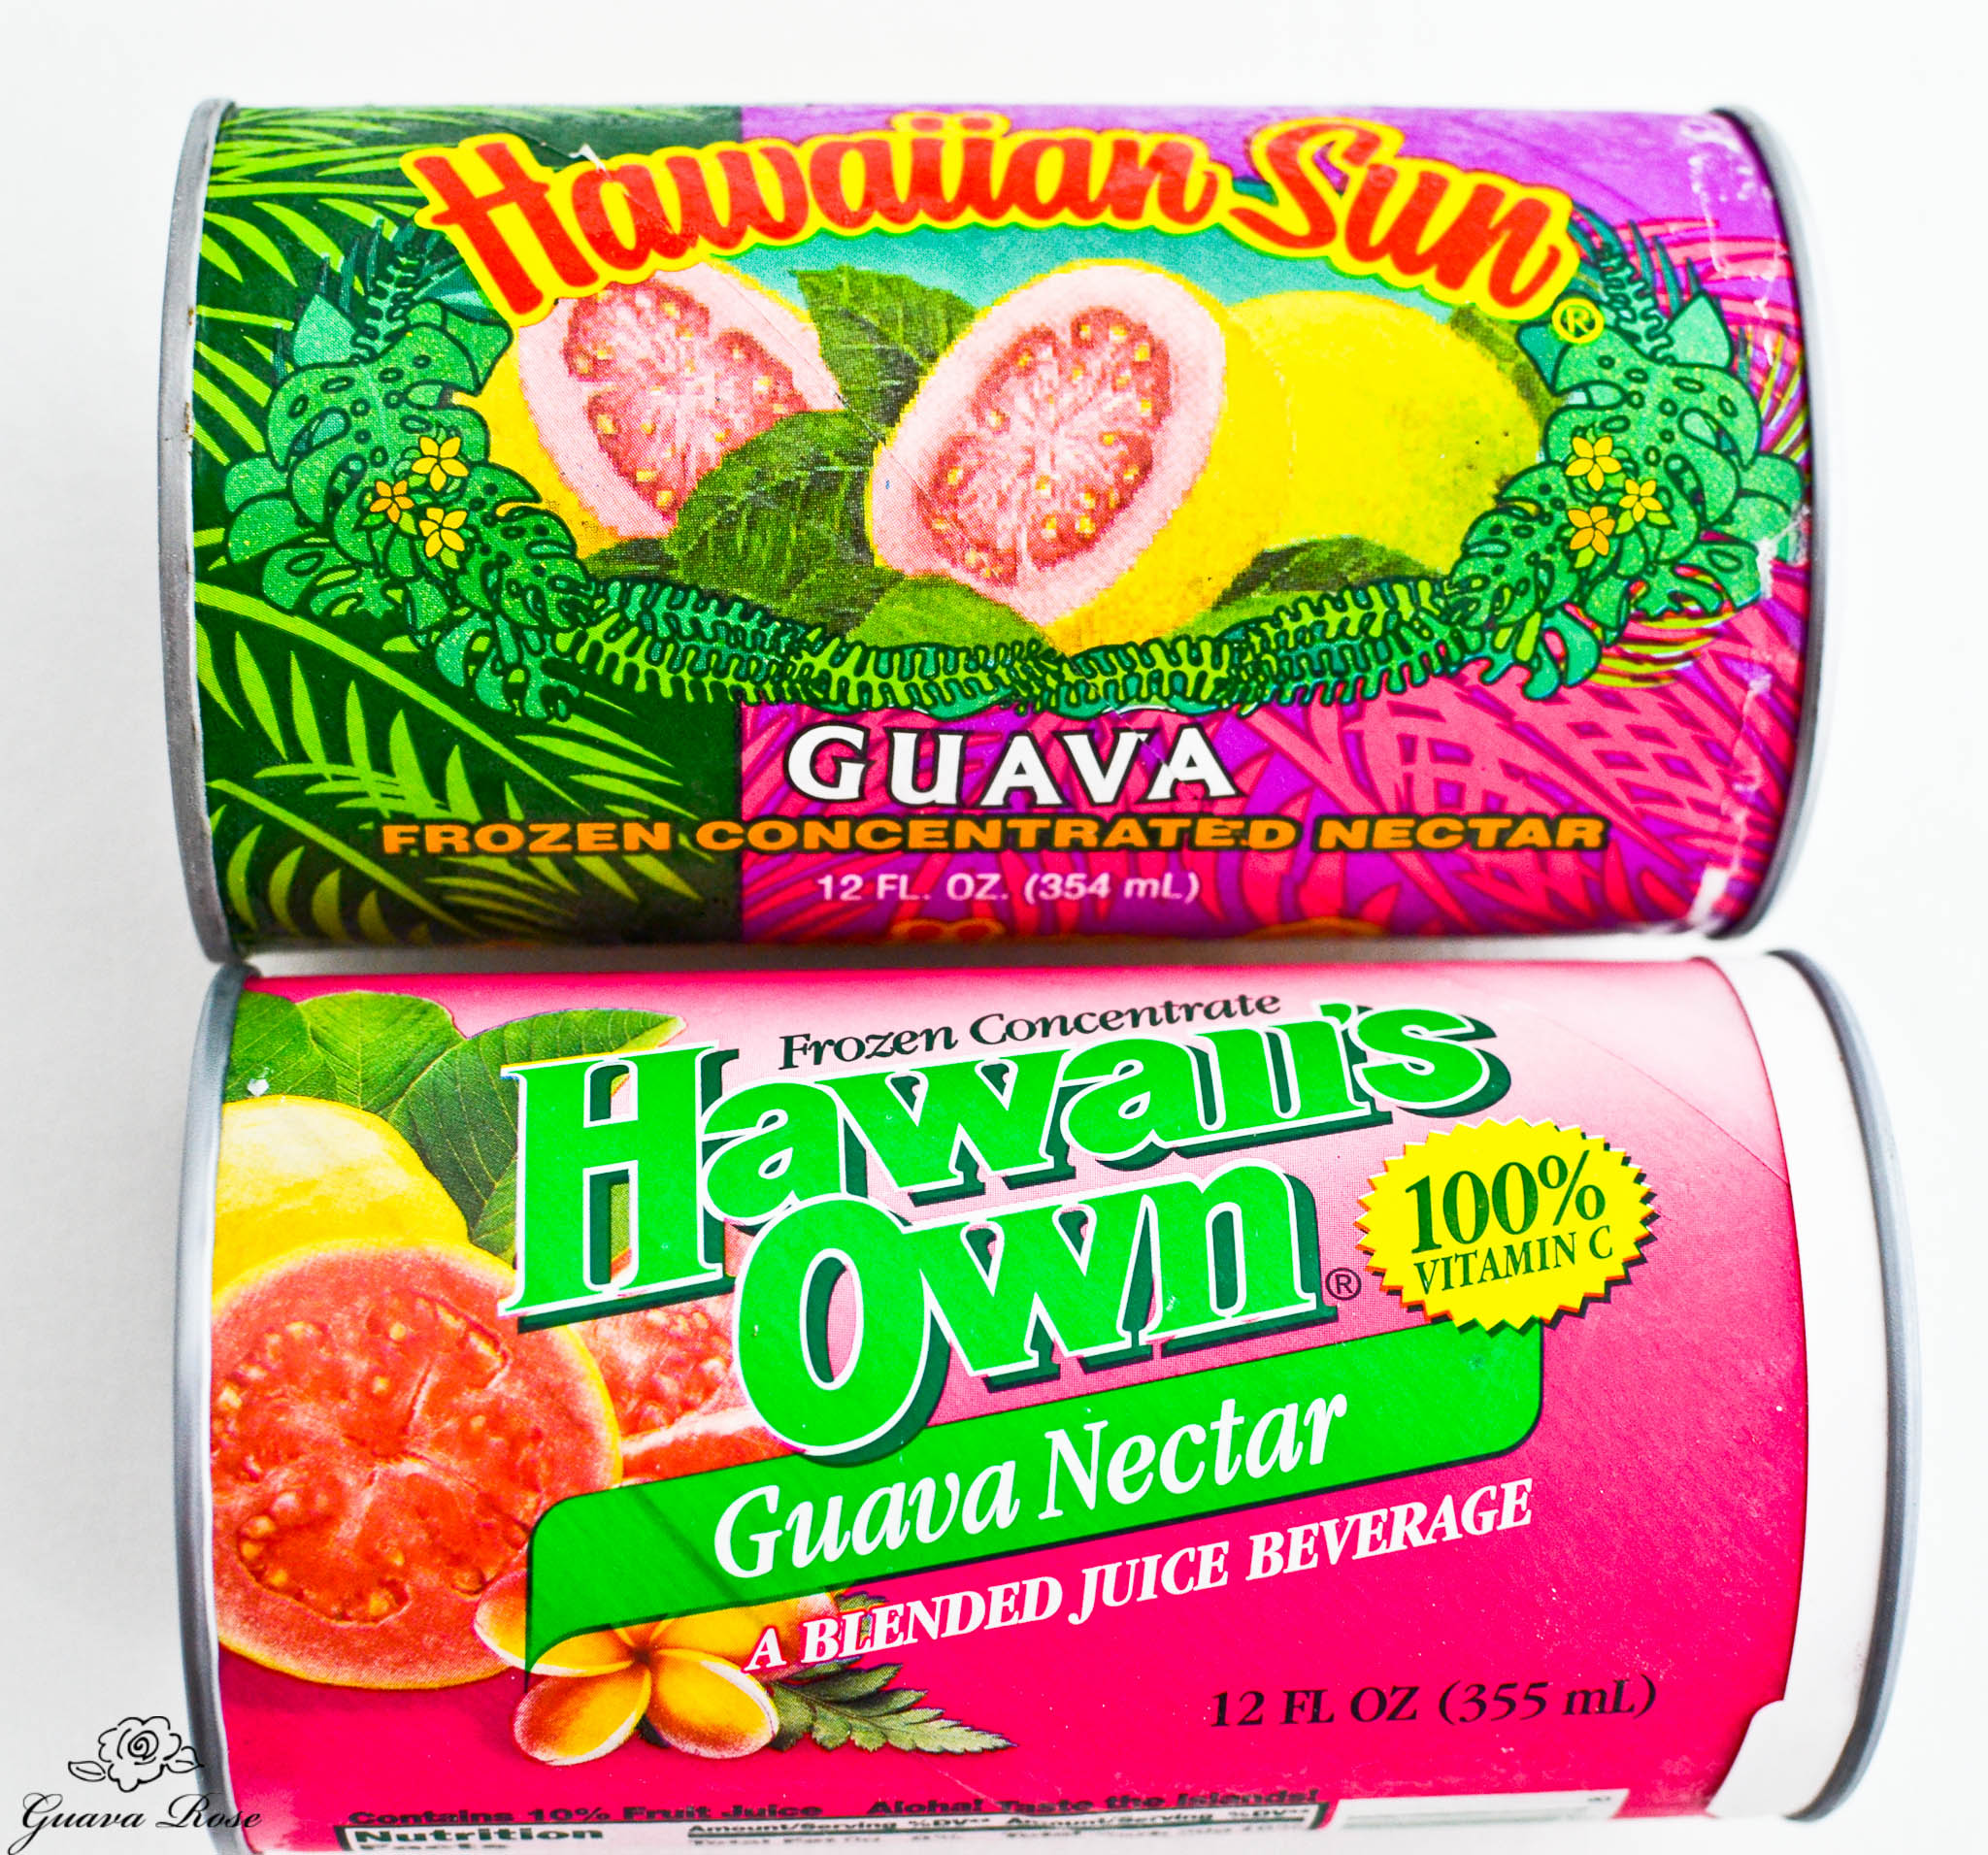
For the frozen guava nectar concentrate, I can find the Hawaii’s Own brand most easily in local grocery stores. For the last couple of years though, it’s been harder to find the plain guava flavor. I now find mostly Guava-Passion Orange, commonly known as POG (Passion Orange-Guava in Hawaii); Luau Punch; Passion Orange; and some of the lemonades. (By the way, substituting with the POG and Passion Orange concentrates will result in delicious chiffon cakes too!)
According to the folks at Hawaii’s Own, refrigerated/frozen space in grocery stores has become very competitive, and stores are only stocking the most popular flavors. If your local grocery store carries some of the Hawaii’s Own frozen concentrates, you could ask them to stock some guava, or find a Winco store. Hawaii’s Own tells me that Winco carries most of their flavors and will always have the guava.
I’ve only found Hawaiian Sun Brand of frozen guava nectar concentrate locally here at Oto’s Marketplace. They make the very famous canned tropical drinks both island locals and tourists love. Don’t try to make a concentrated version of their recently released powdered drink mix and substitute it for the frozen guava juice concentrate– it will not work, or taste the same for this recipe.
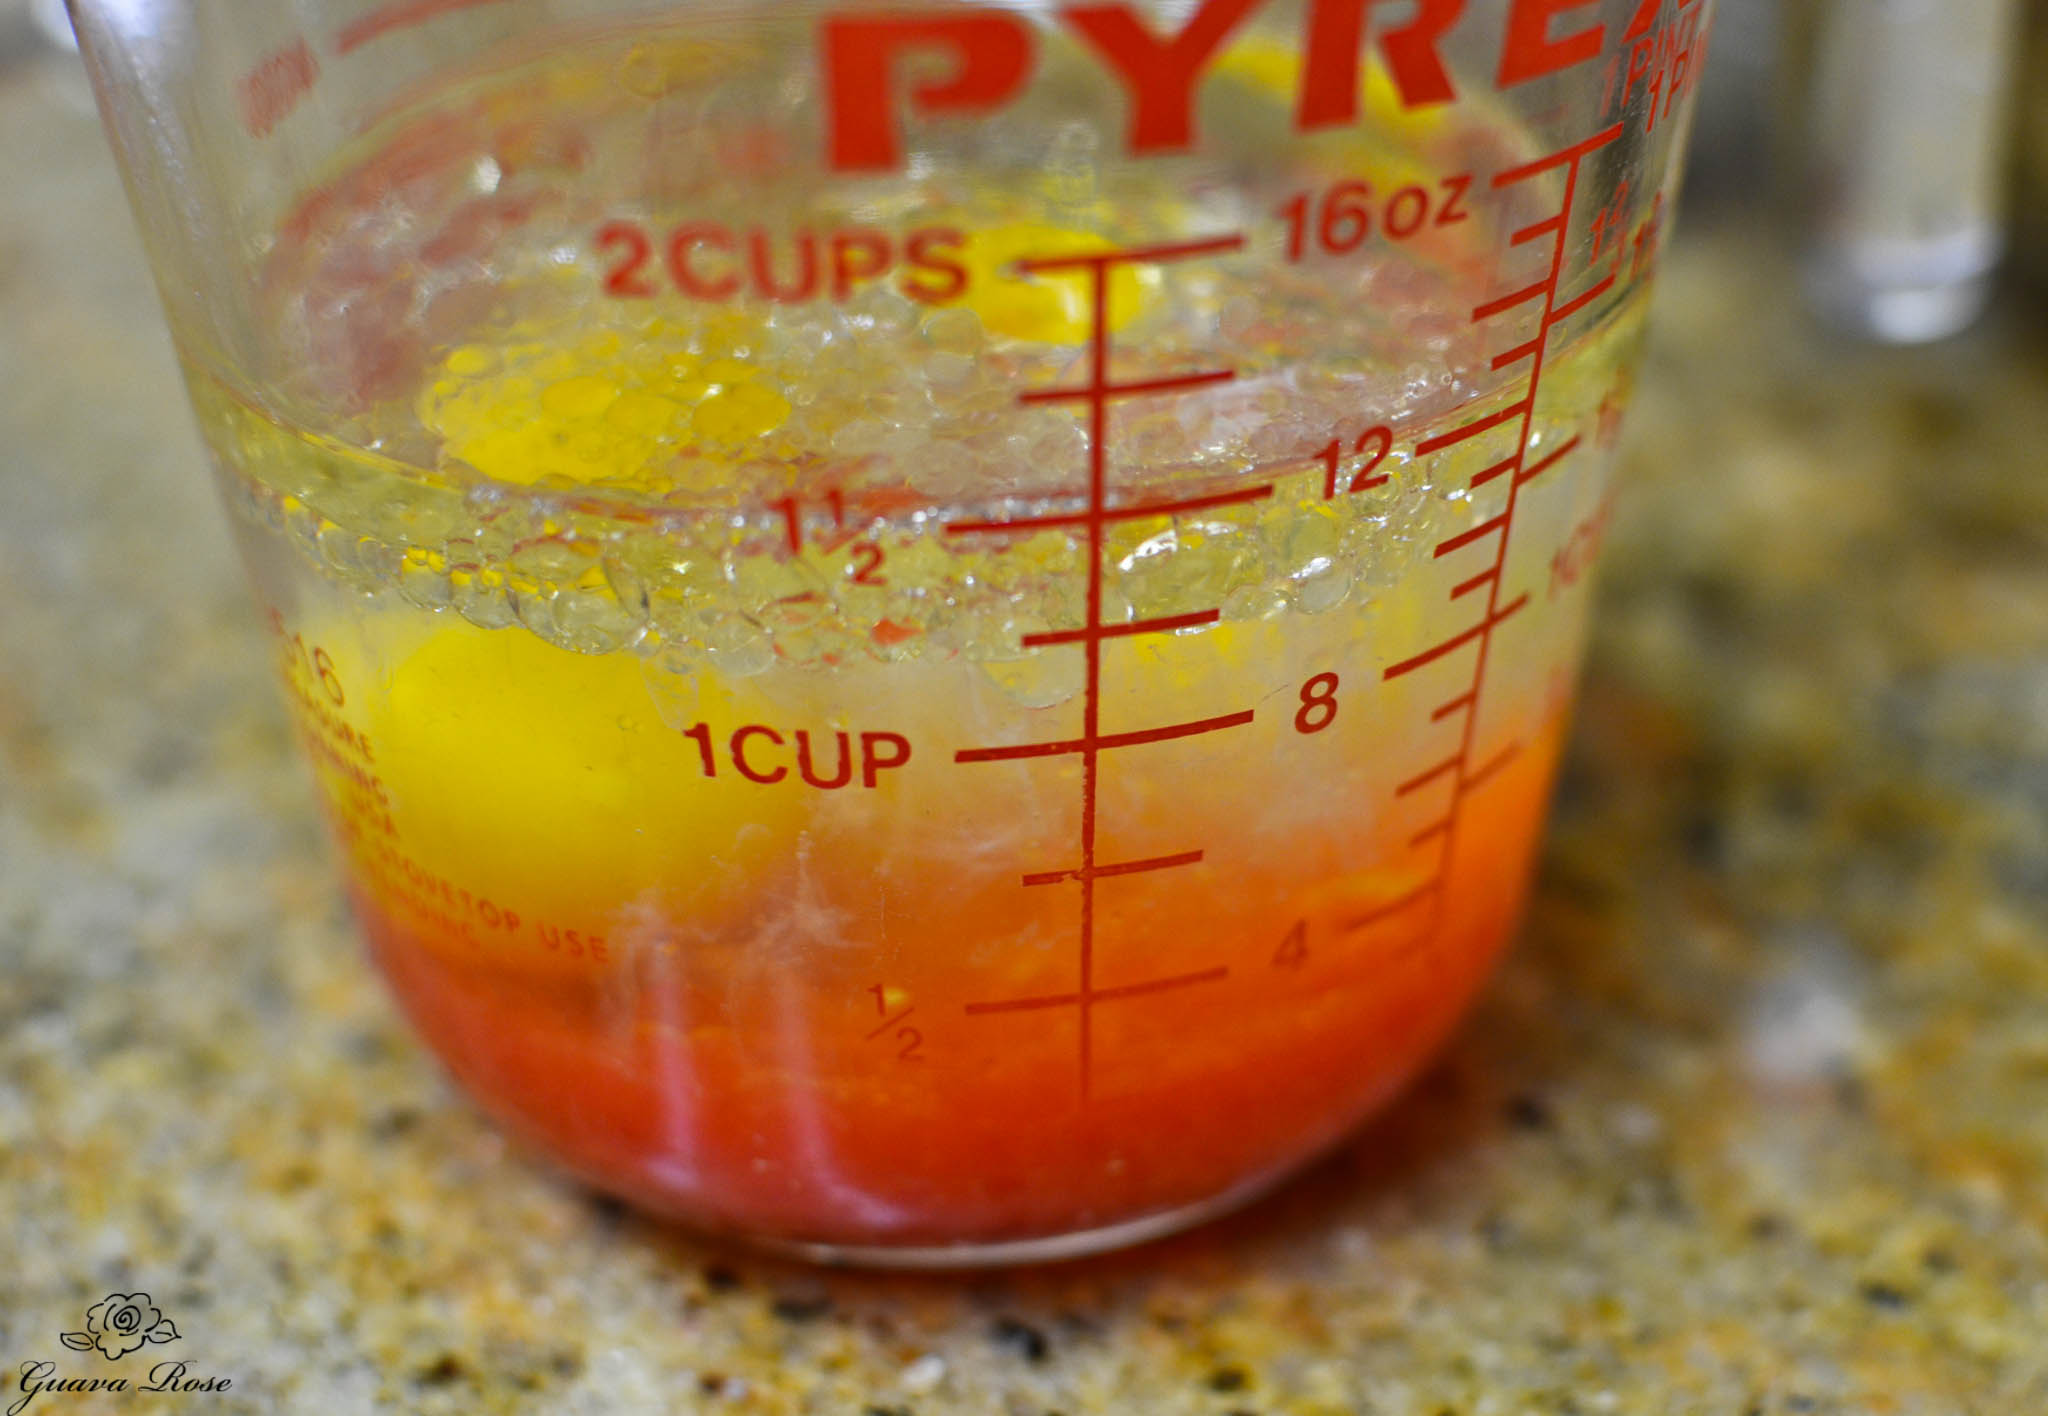
Combine wet ingredients– the oil, water, guava nectar concentrate, eggs, and vanilla into a measuring cup.
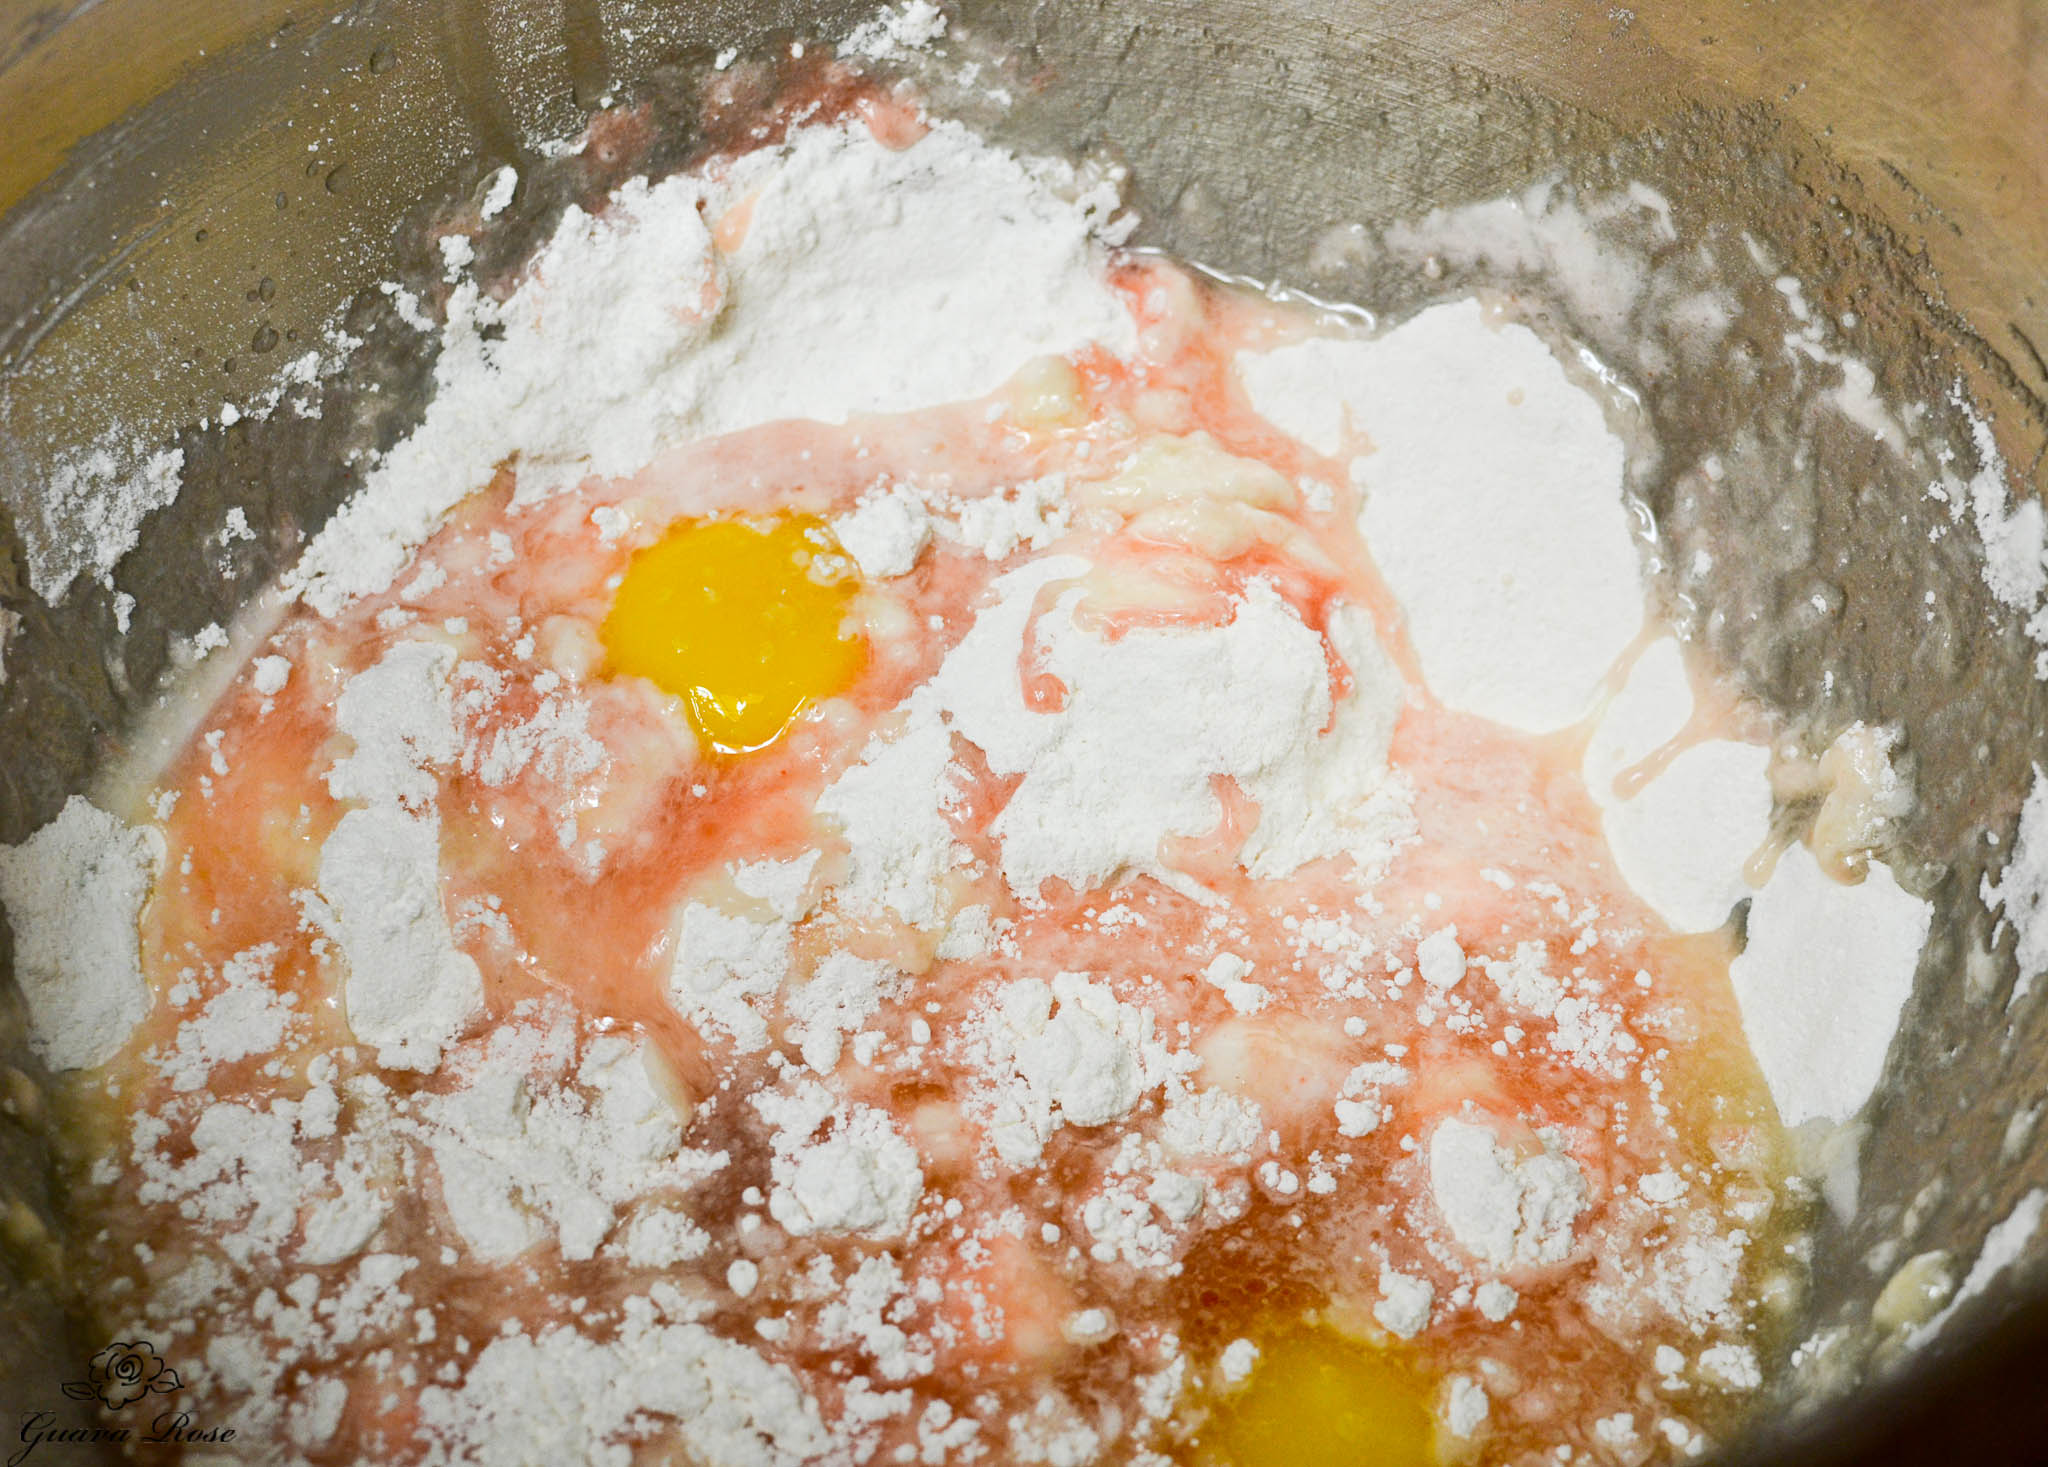
Place the whisked flour mixture into the mixer bowl, and pour in the wet ingredients.
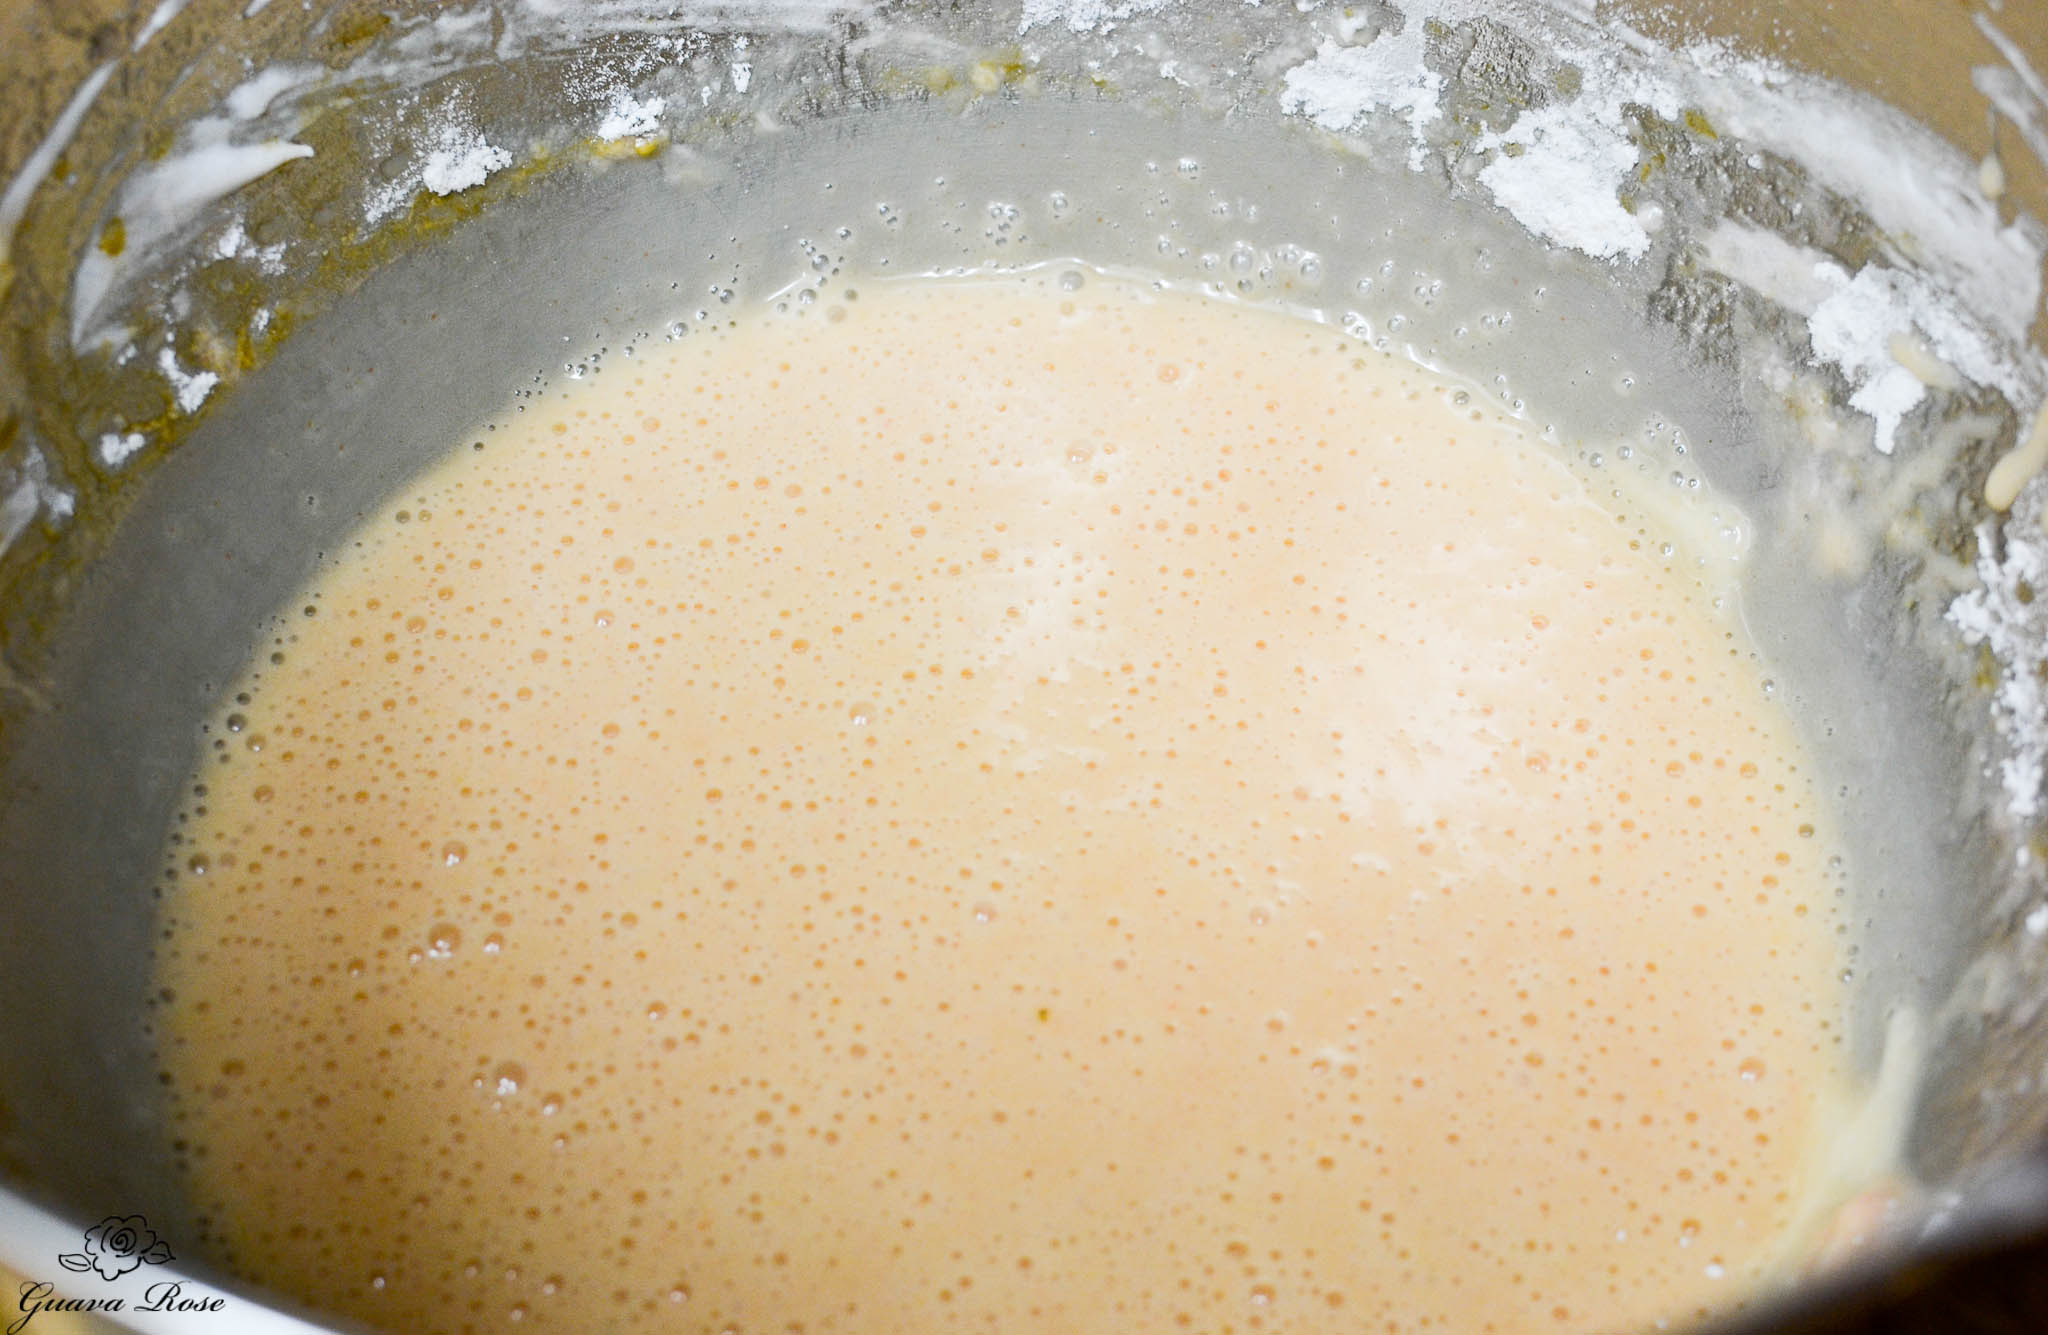
Mix on medium low speed for 1 minute until blended, then increase to medium speed for 2 minutes.
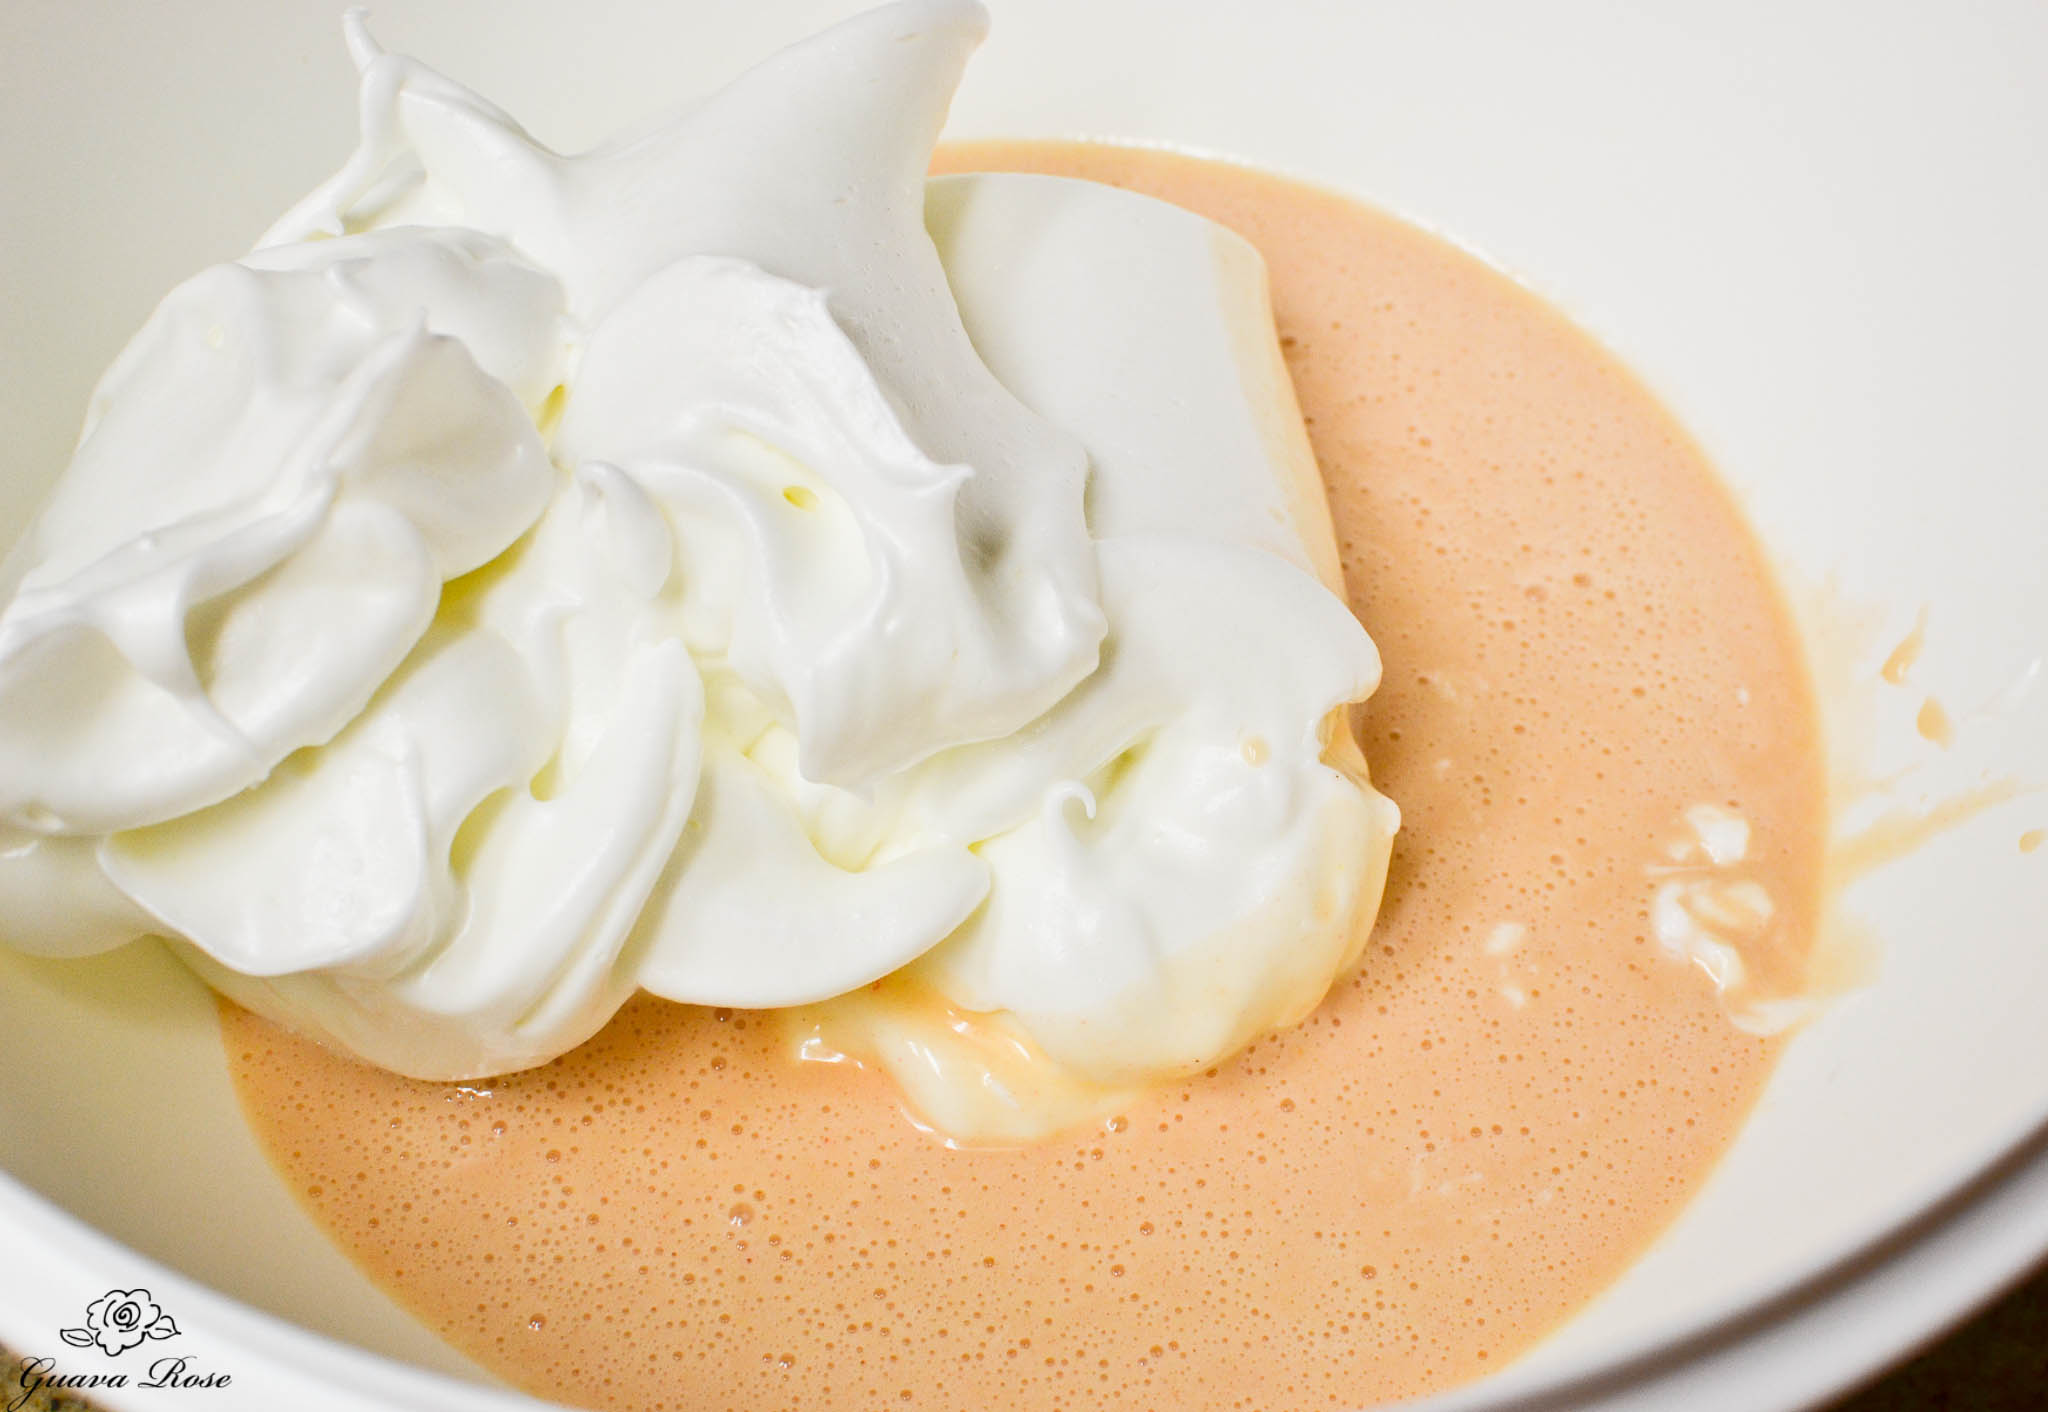
Pour batter into the open side of the bowl with the whipped egg whites, so that the batter flows mostly to the bottom and below the egg whites.
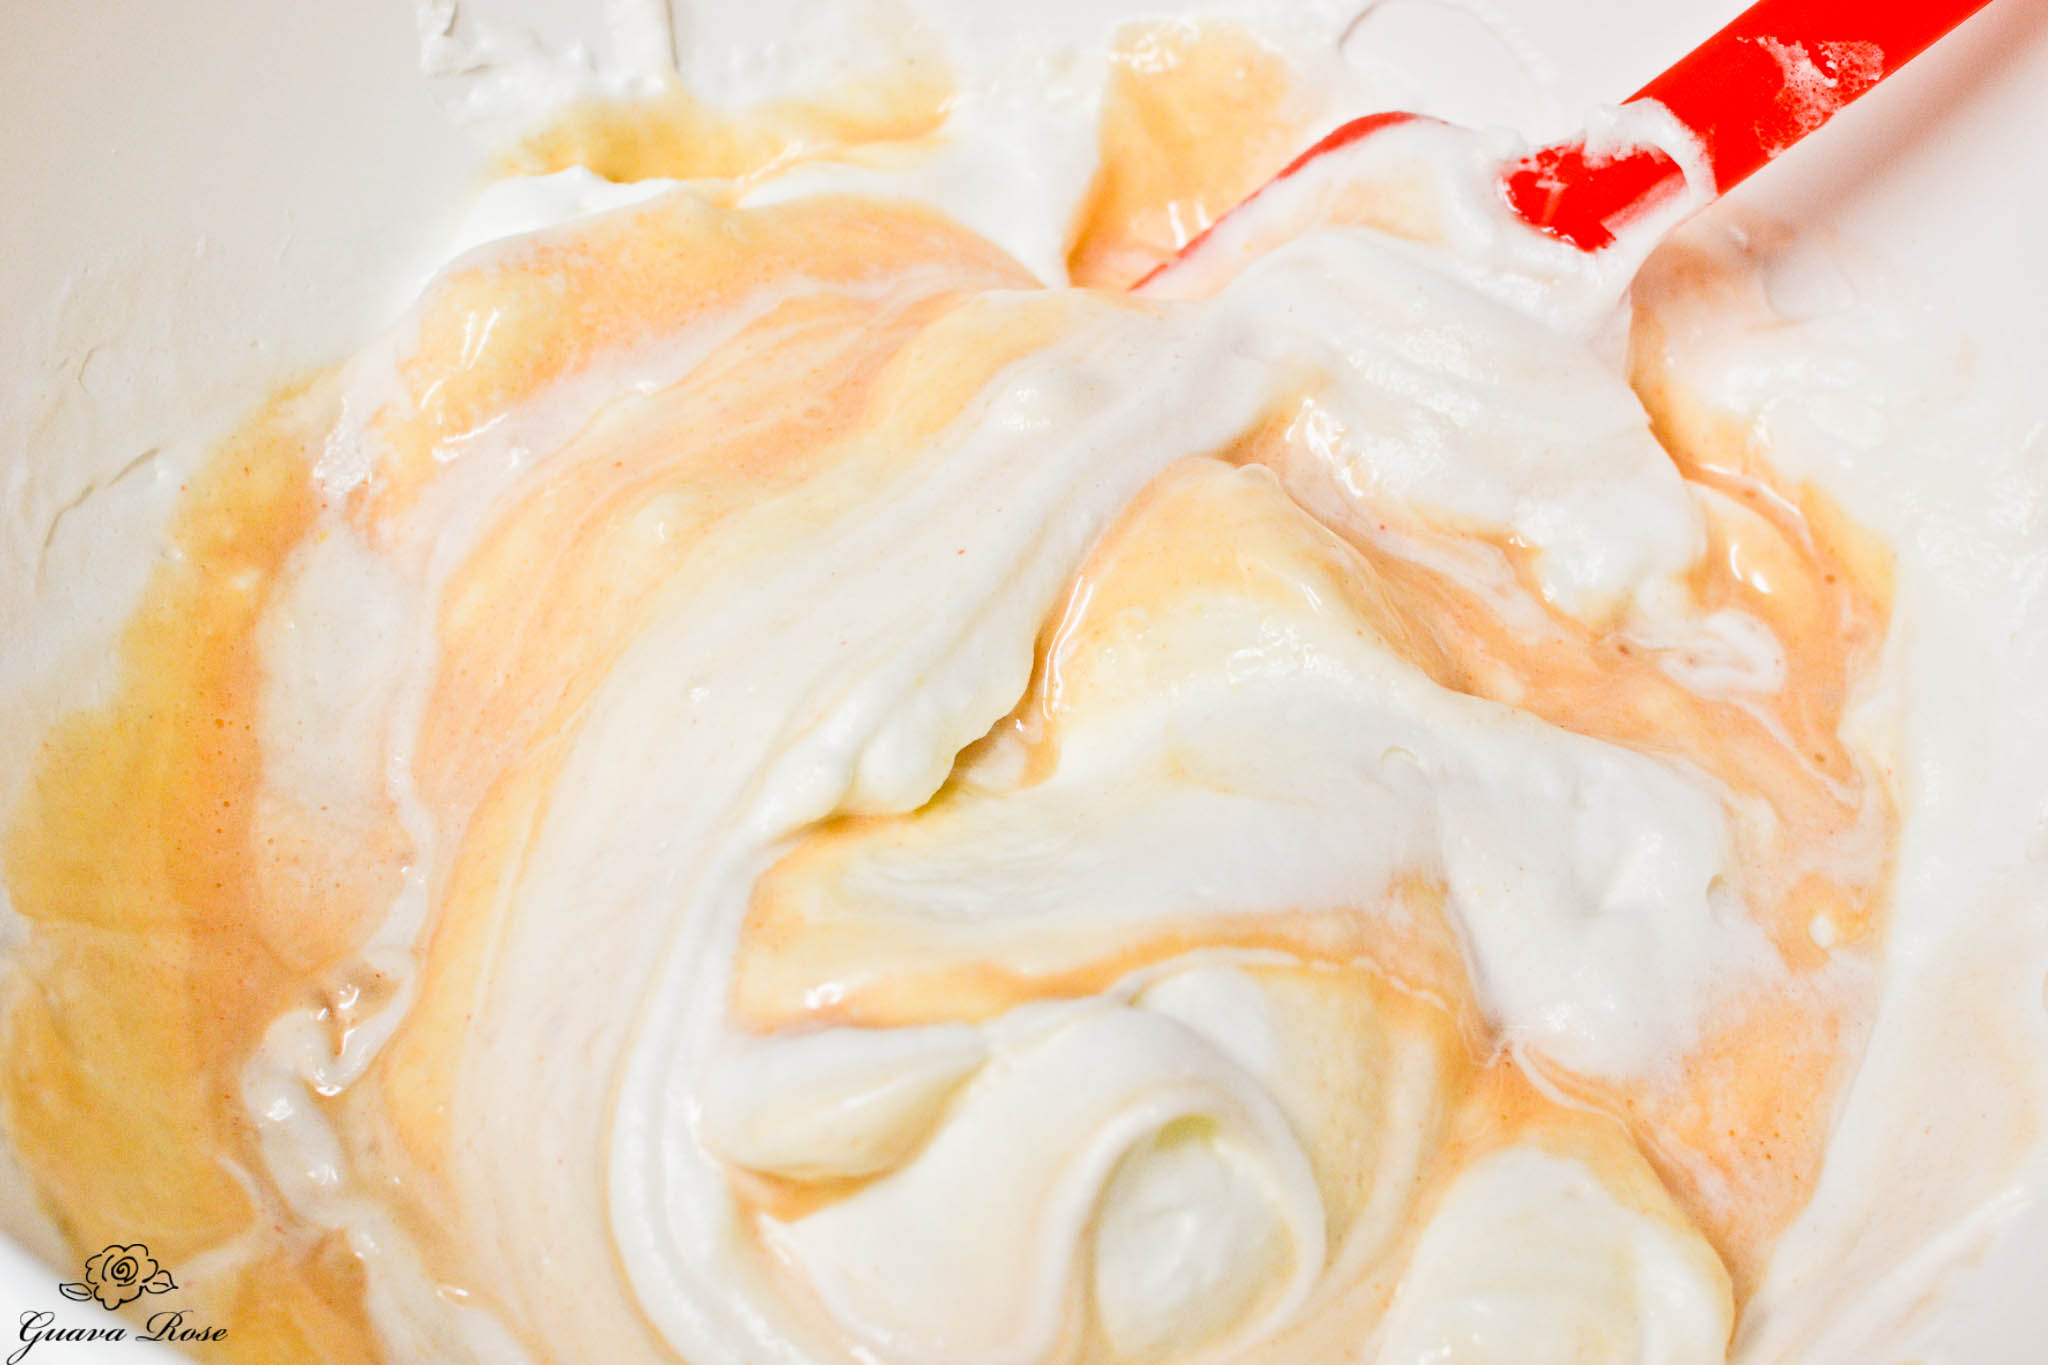
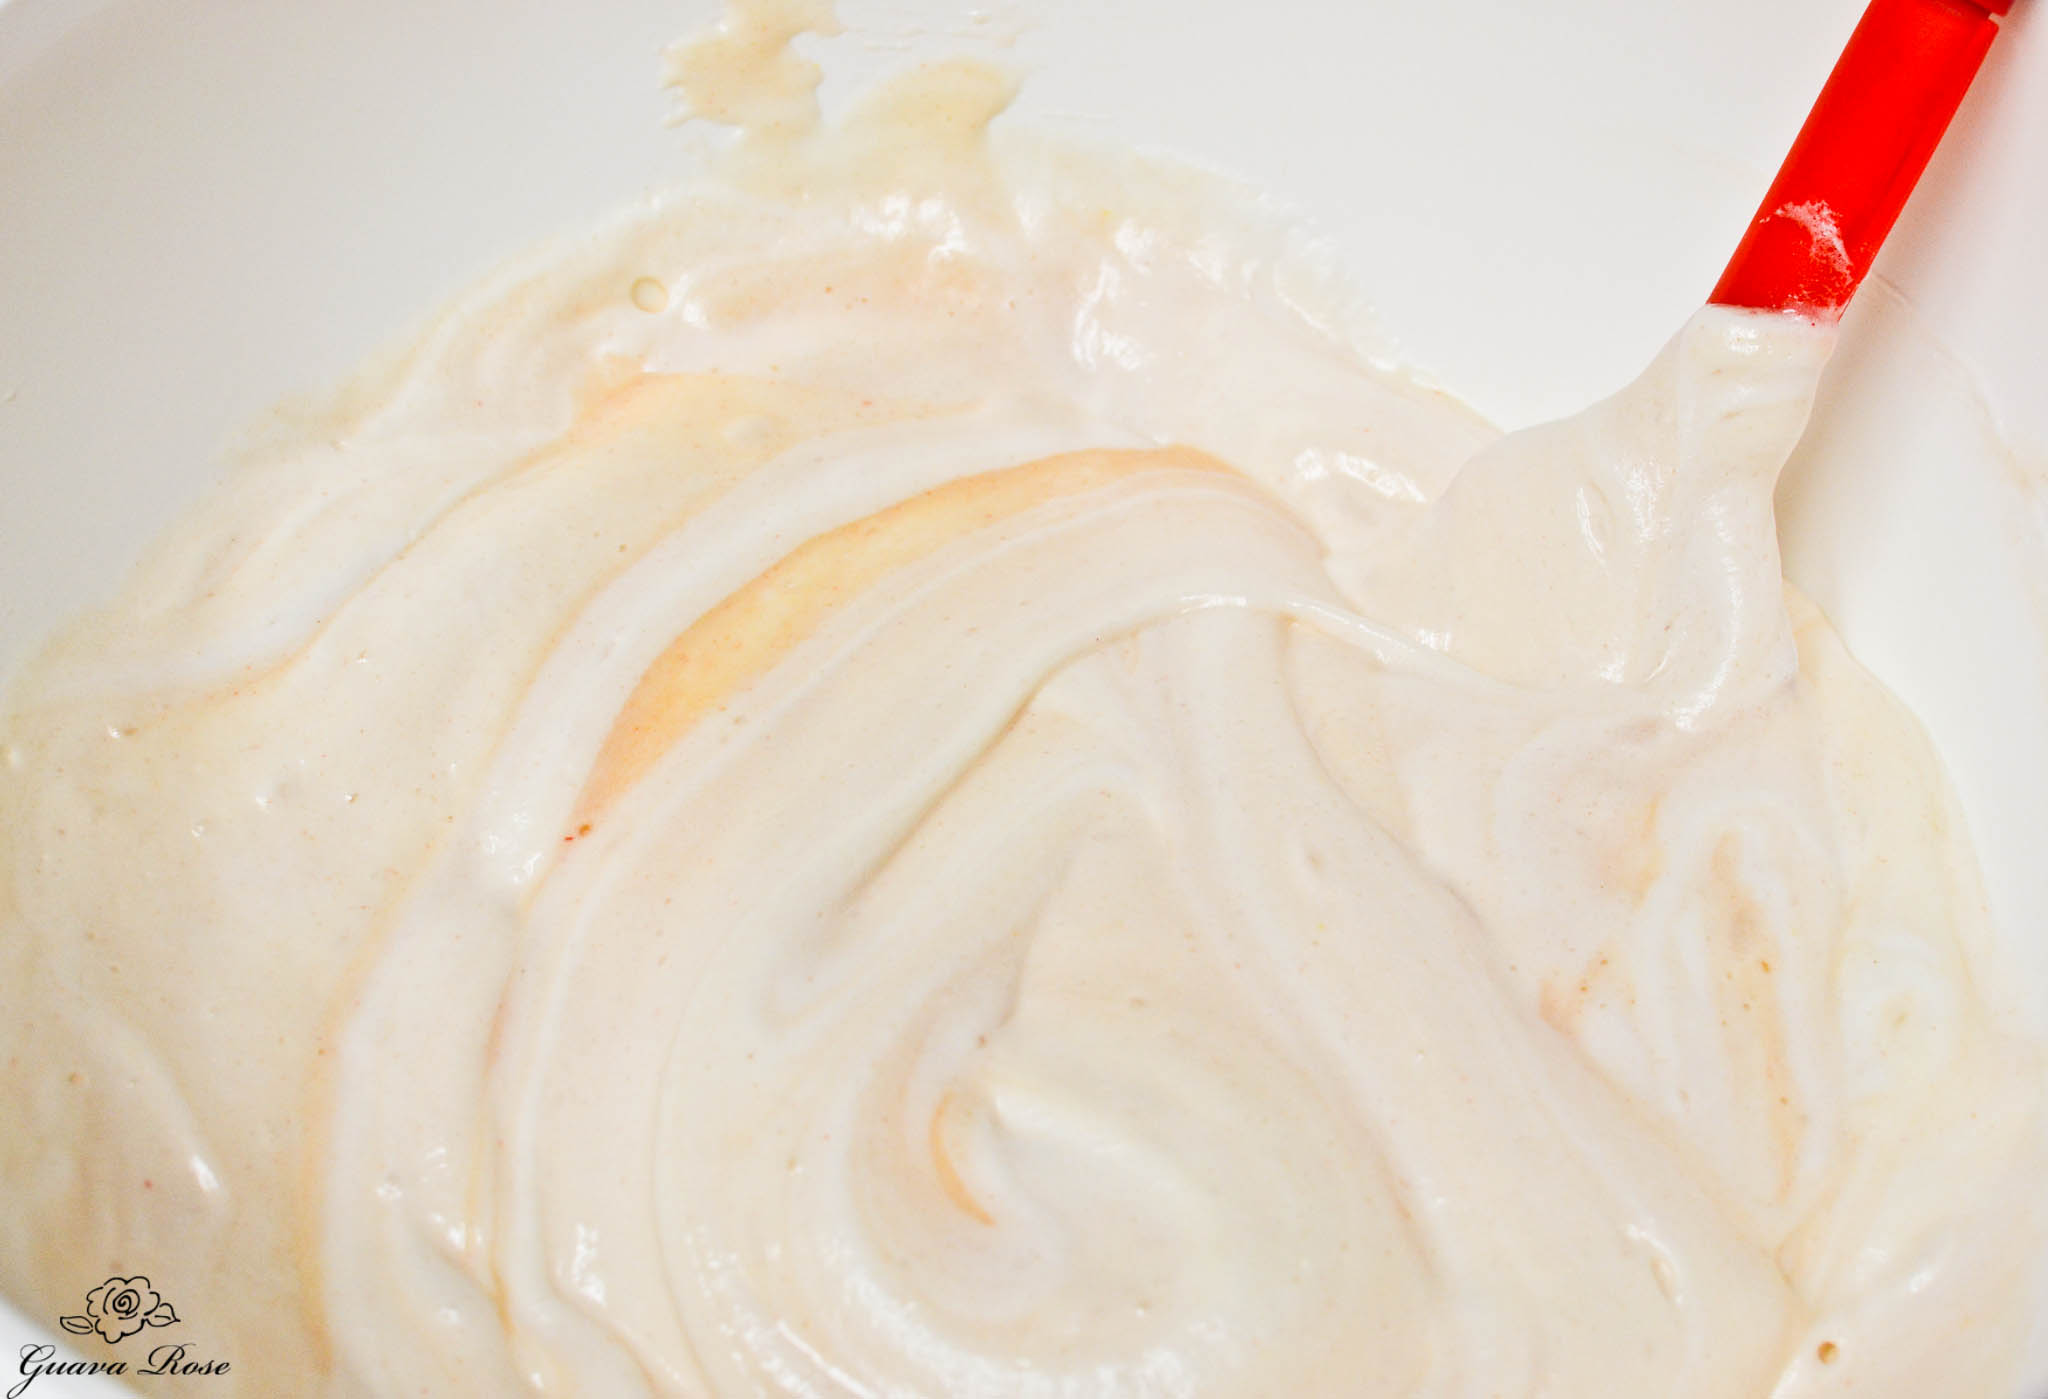
Fold the egg whites into the cake batter by placing a spatula down one side of the bowl to the bottom, pushing batter from underneath to the other side of the bowl, then lifting the spatula up the other side of the bowl and over the top, carrying some thick batter with it.
Continue this pattern, repeating it while turning the bowl ¼ turn at a time, and seeing the streaks of cake batter and egg whites slowly incorporate together.
If necessary, use the spatula to gently spread through the white streaks to help blend them into the chiffon cake batter.
Whatever you do, do not stick the spatula into the bowl and stir vigorously in circles–that would deflate the air bubbles and yield a dense cake.
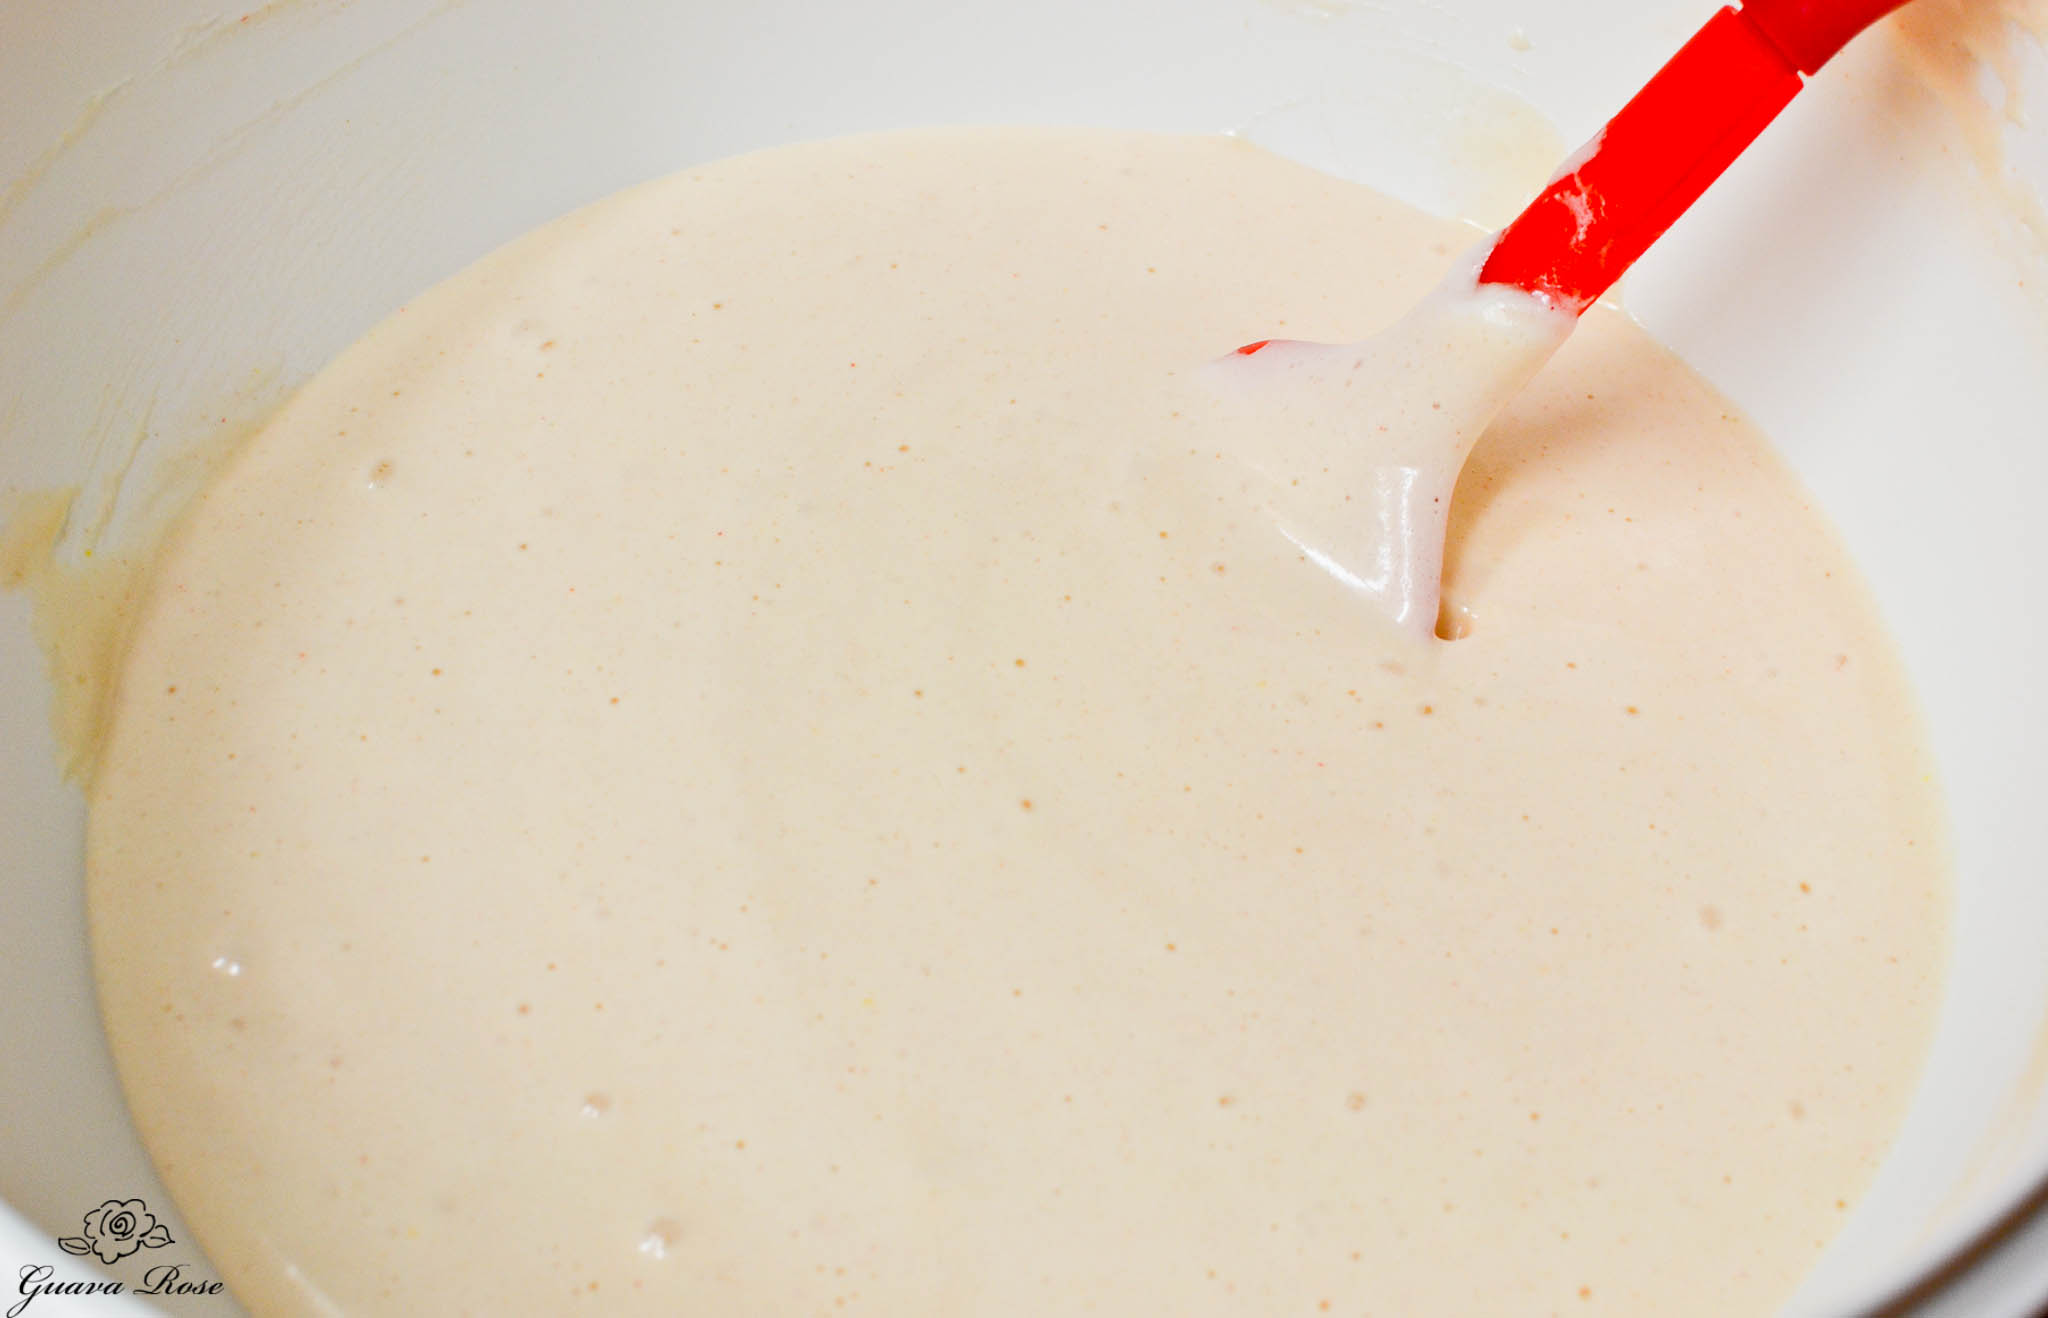
The final chiffon cake batter should be uniform in color, without any streaks of white (those make tough areas in the cake).
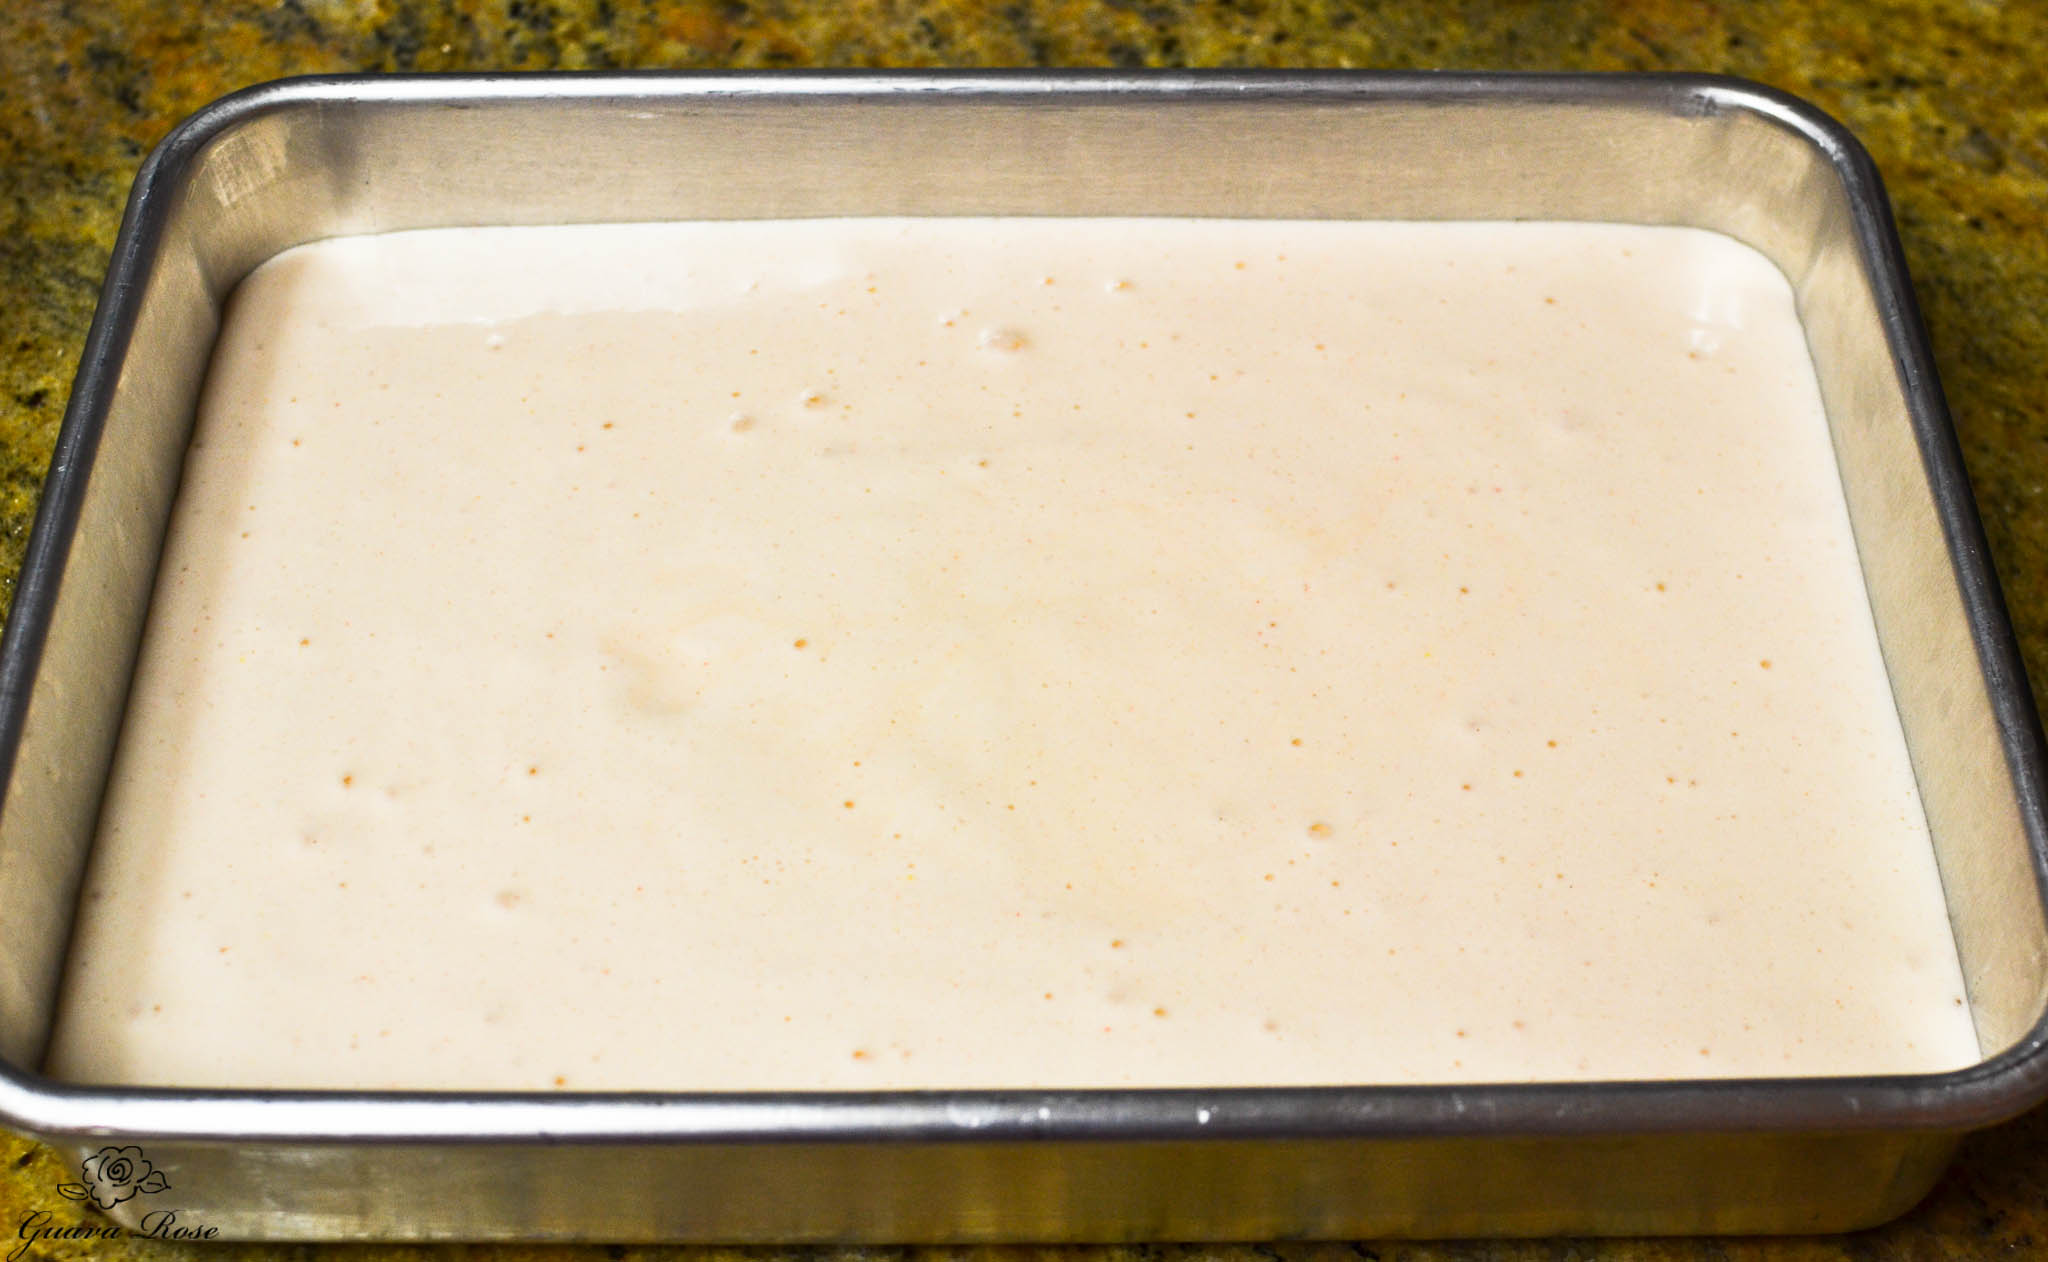
Line bottom of a 9″x 13″ metal pan with parchment paper. Trim edges to fit bottom. Don’t skip the parchment paper. It helps the cake to release from the pan easily.
Avoid non-stick metal pans, as well as glass pans– neither works well. The batter needs to be able to grip the sides of the pan and expand upwards.
Pour batter into the prepared cake pan.
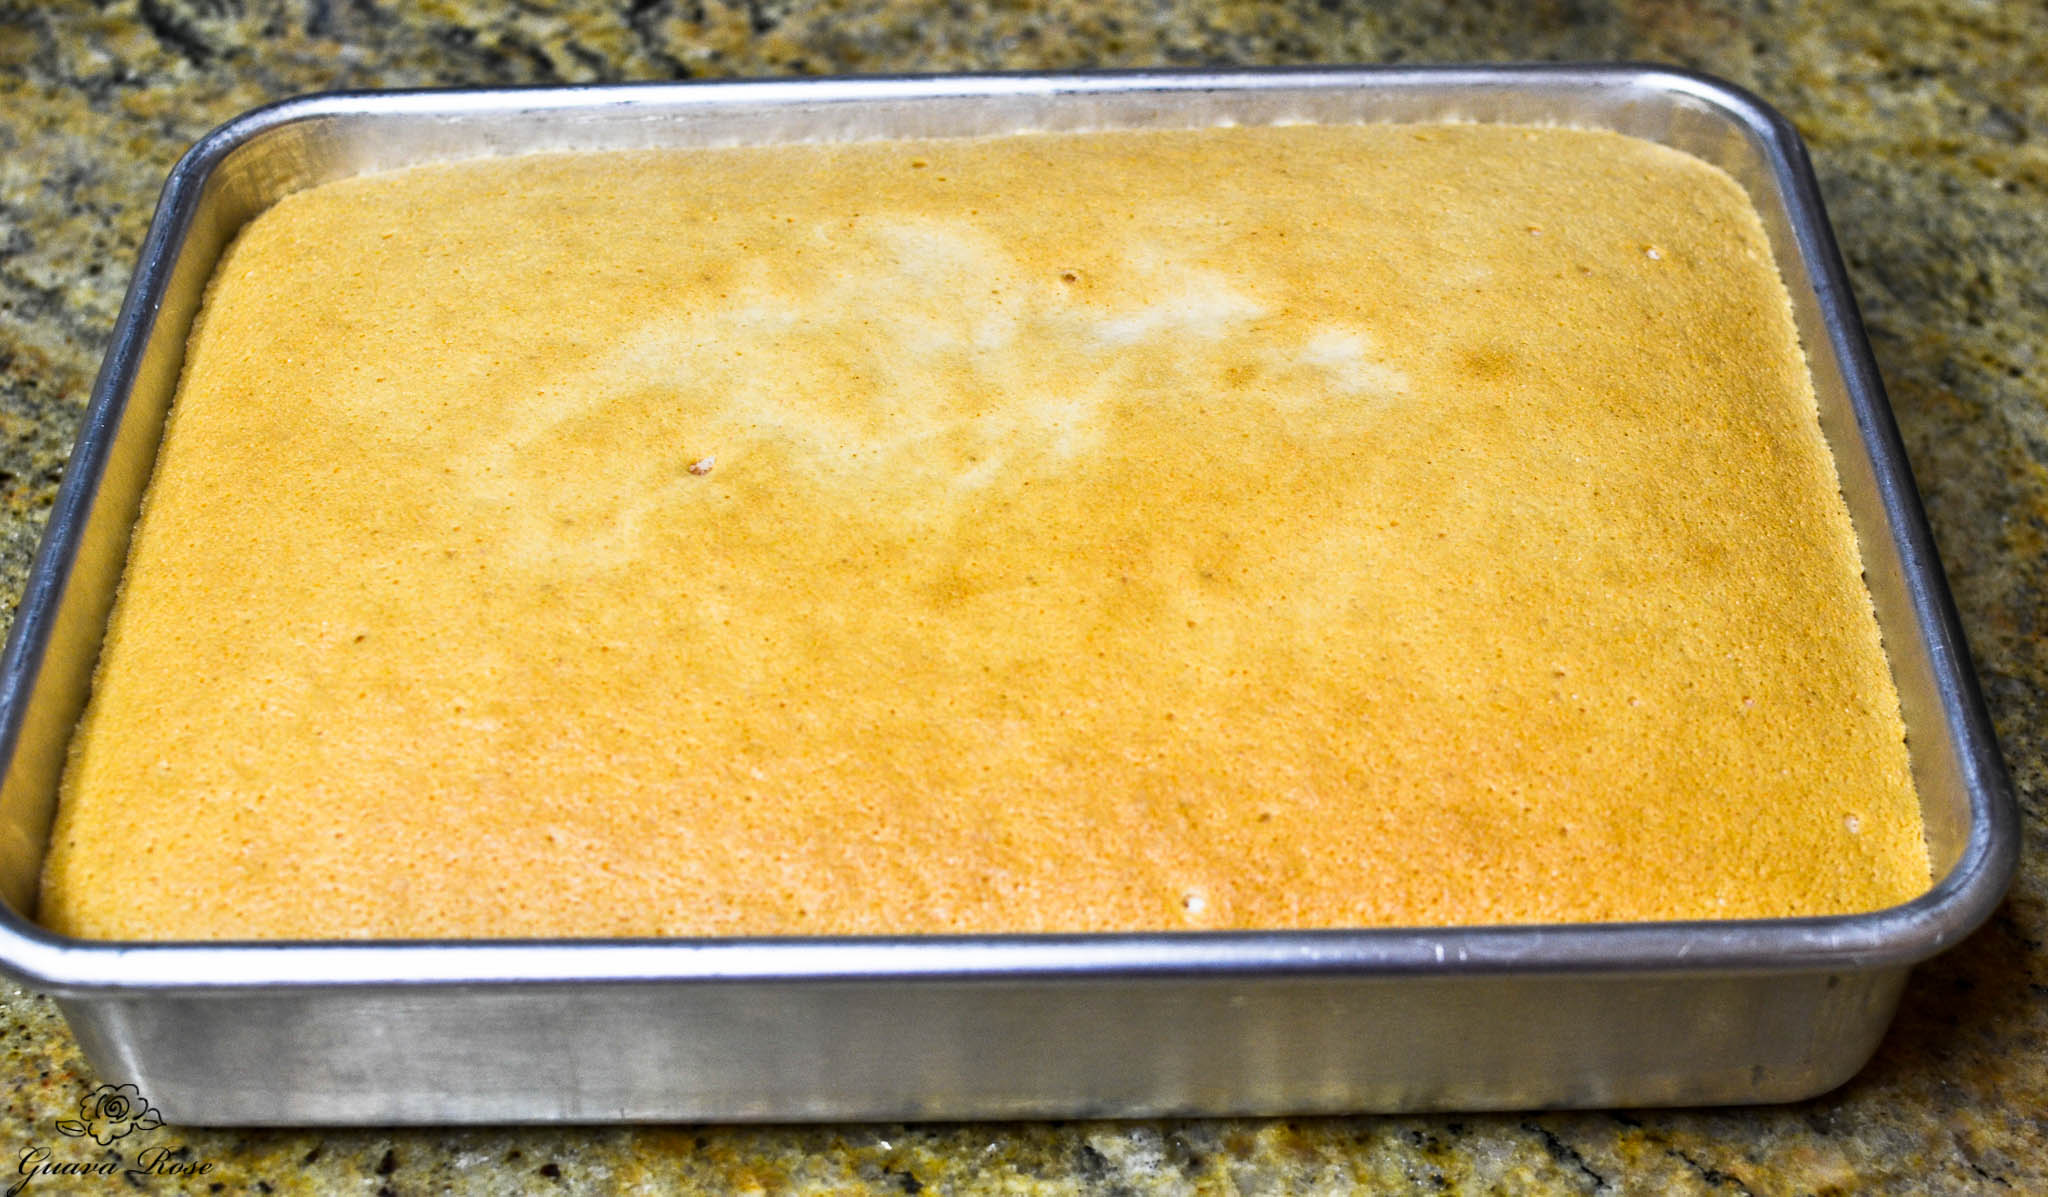
Bake for 30-35 minutes, or until toothpick inserted into the center comes out clean.
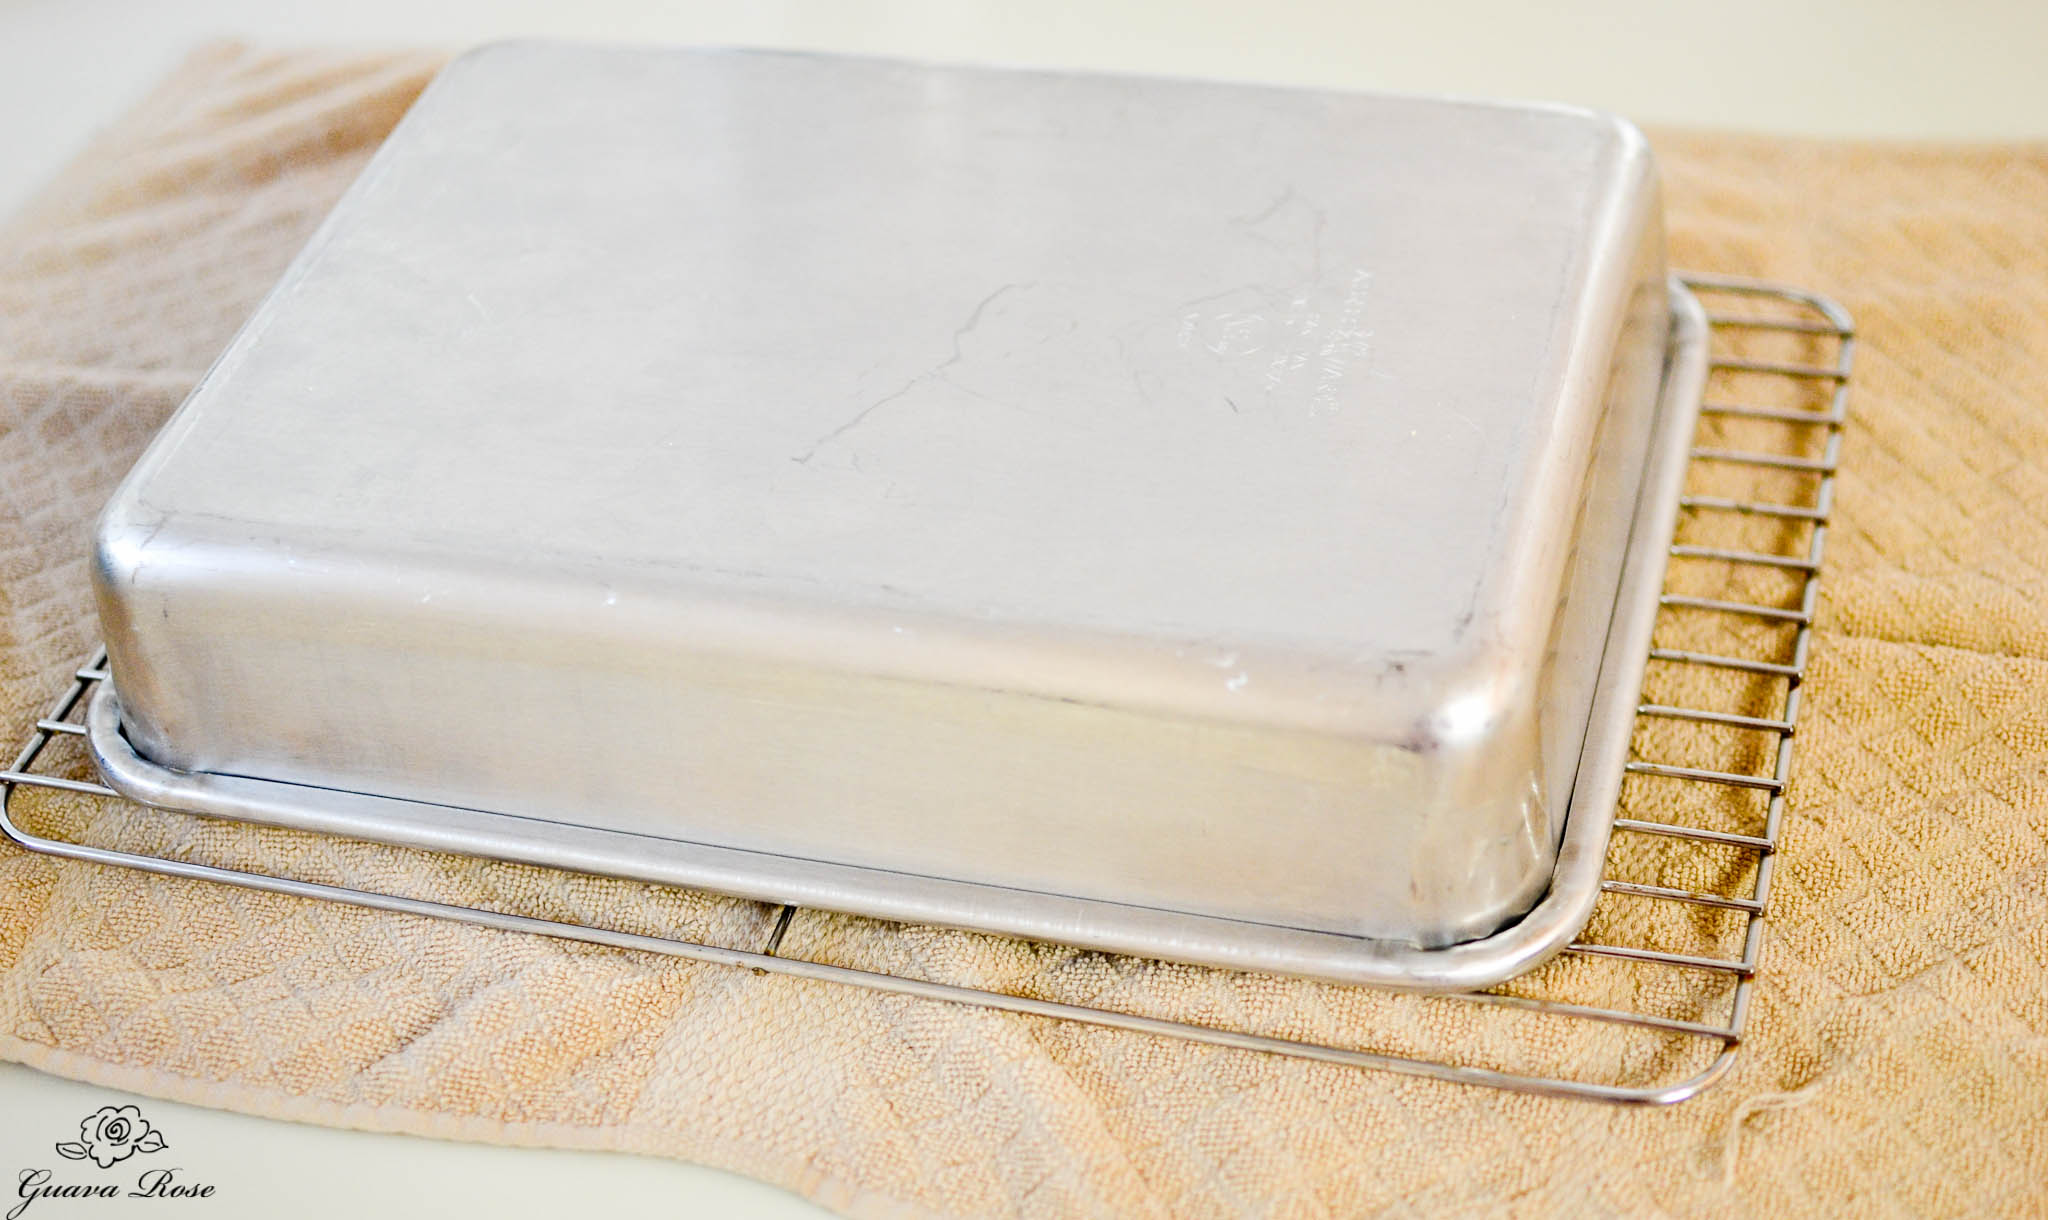
Invert the pan onto a cake rack and cool completely. Leave the pan in place, as the cake will usually not drop out of the pan at this point.
I like to put a clean kitchen towel underneath the rack because steam from the cake will cause condensation on the table. This way all the excess moisture is absorbed right onto the towel.
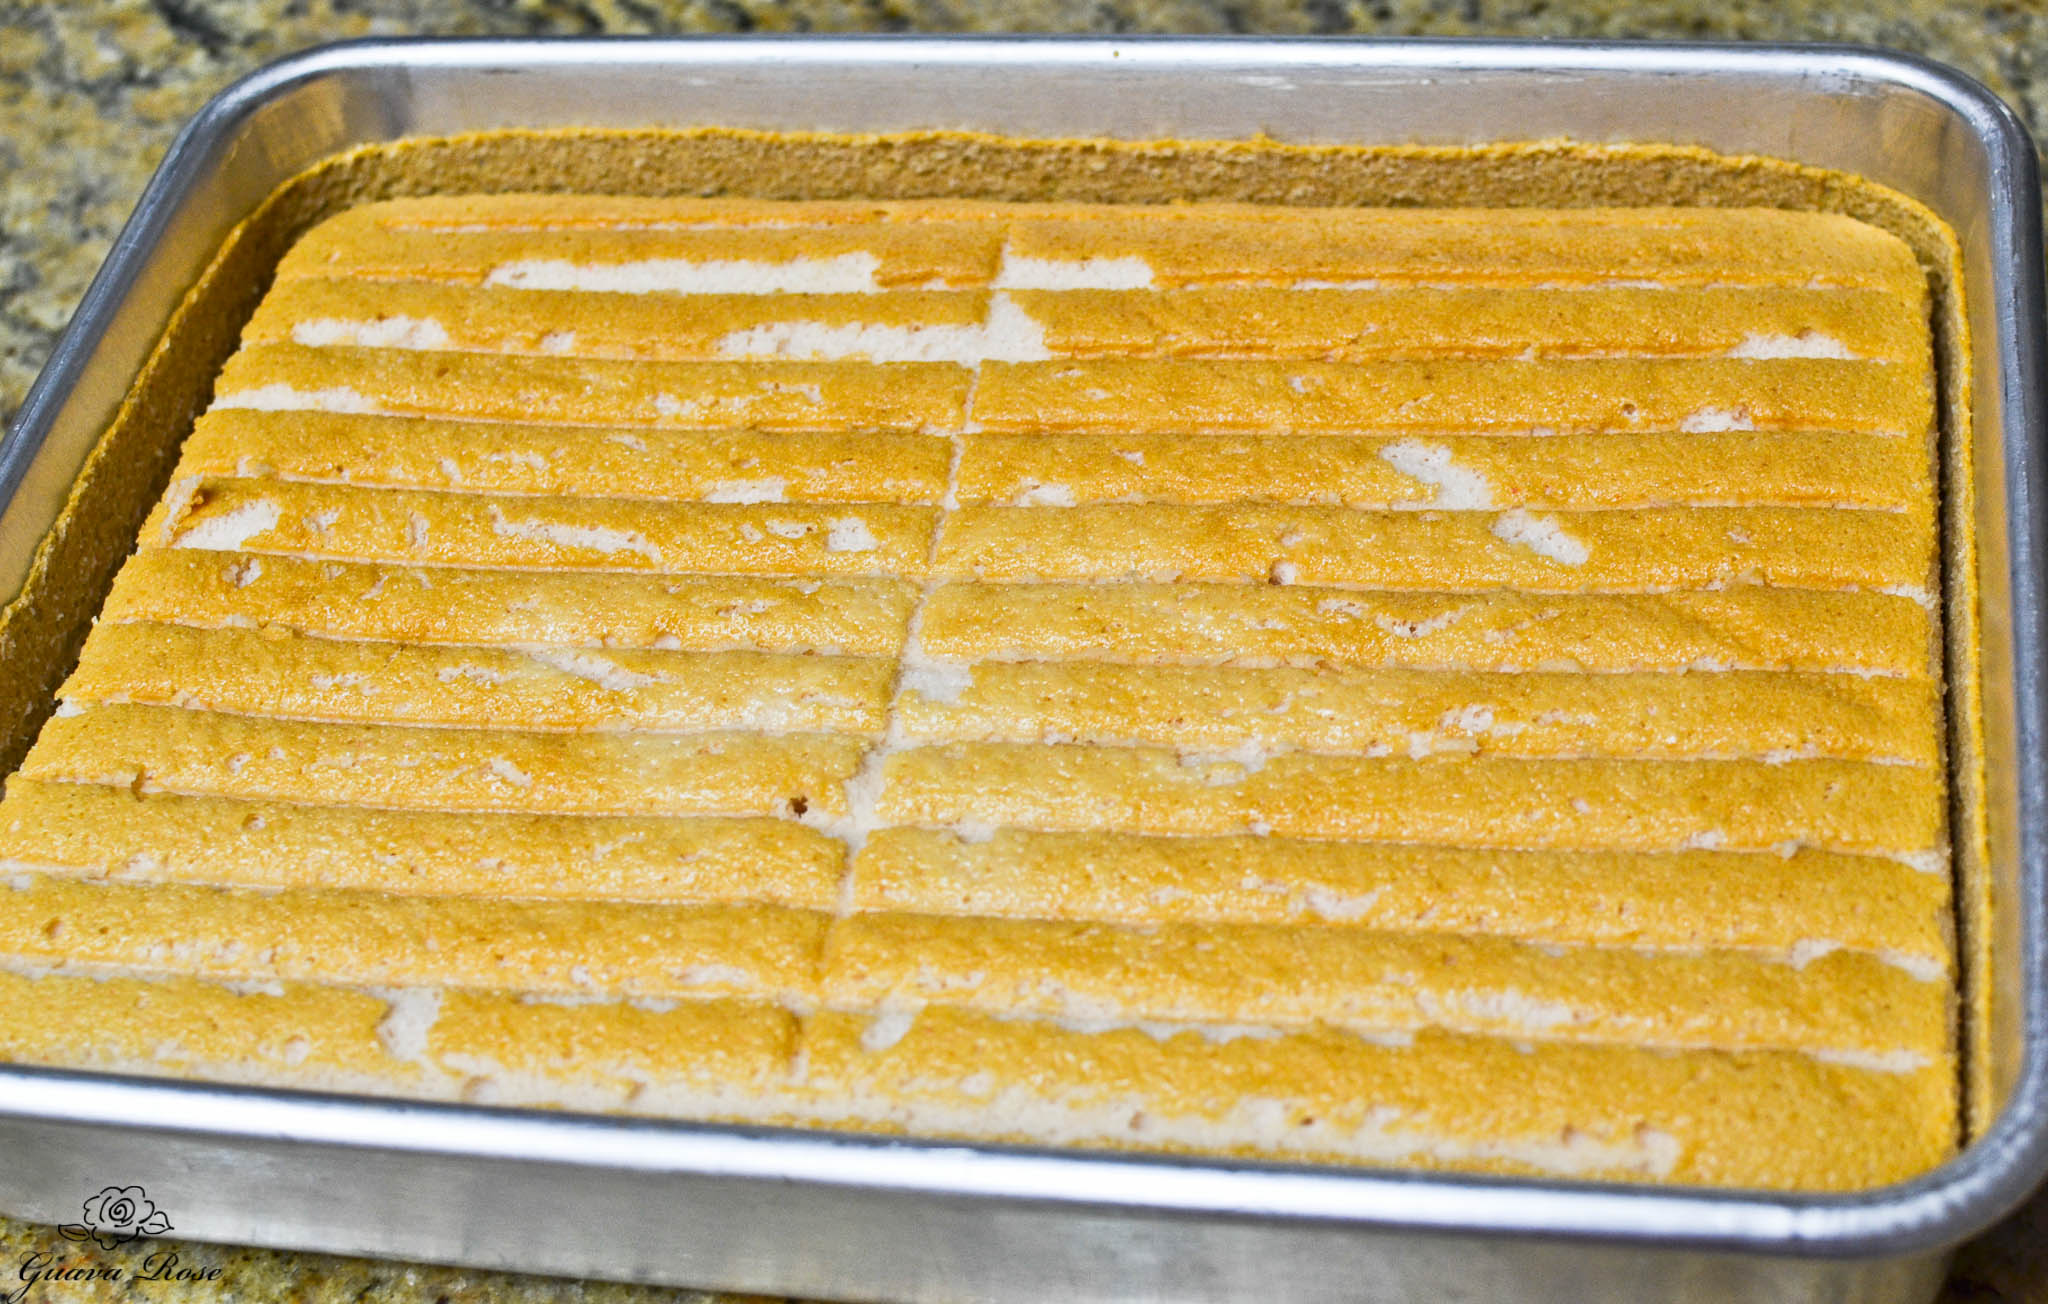
Invert the cake in the pan, right side back up.
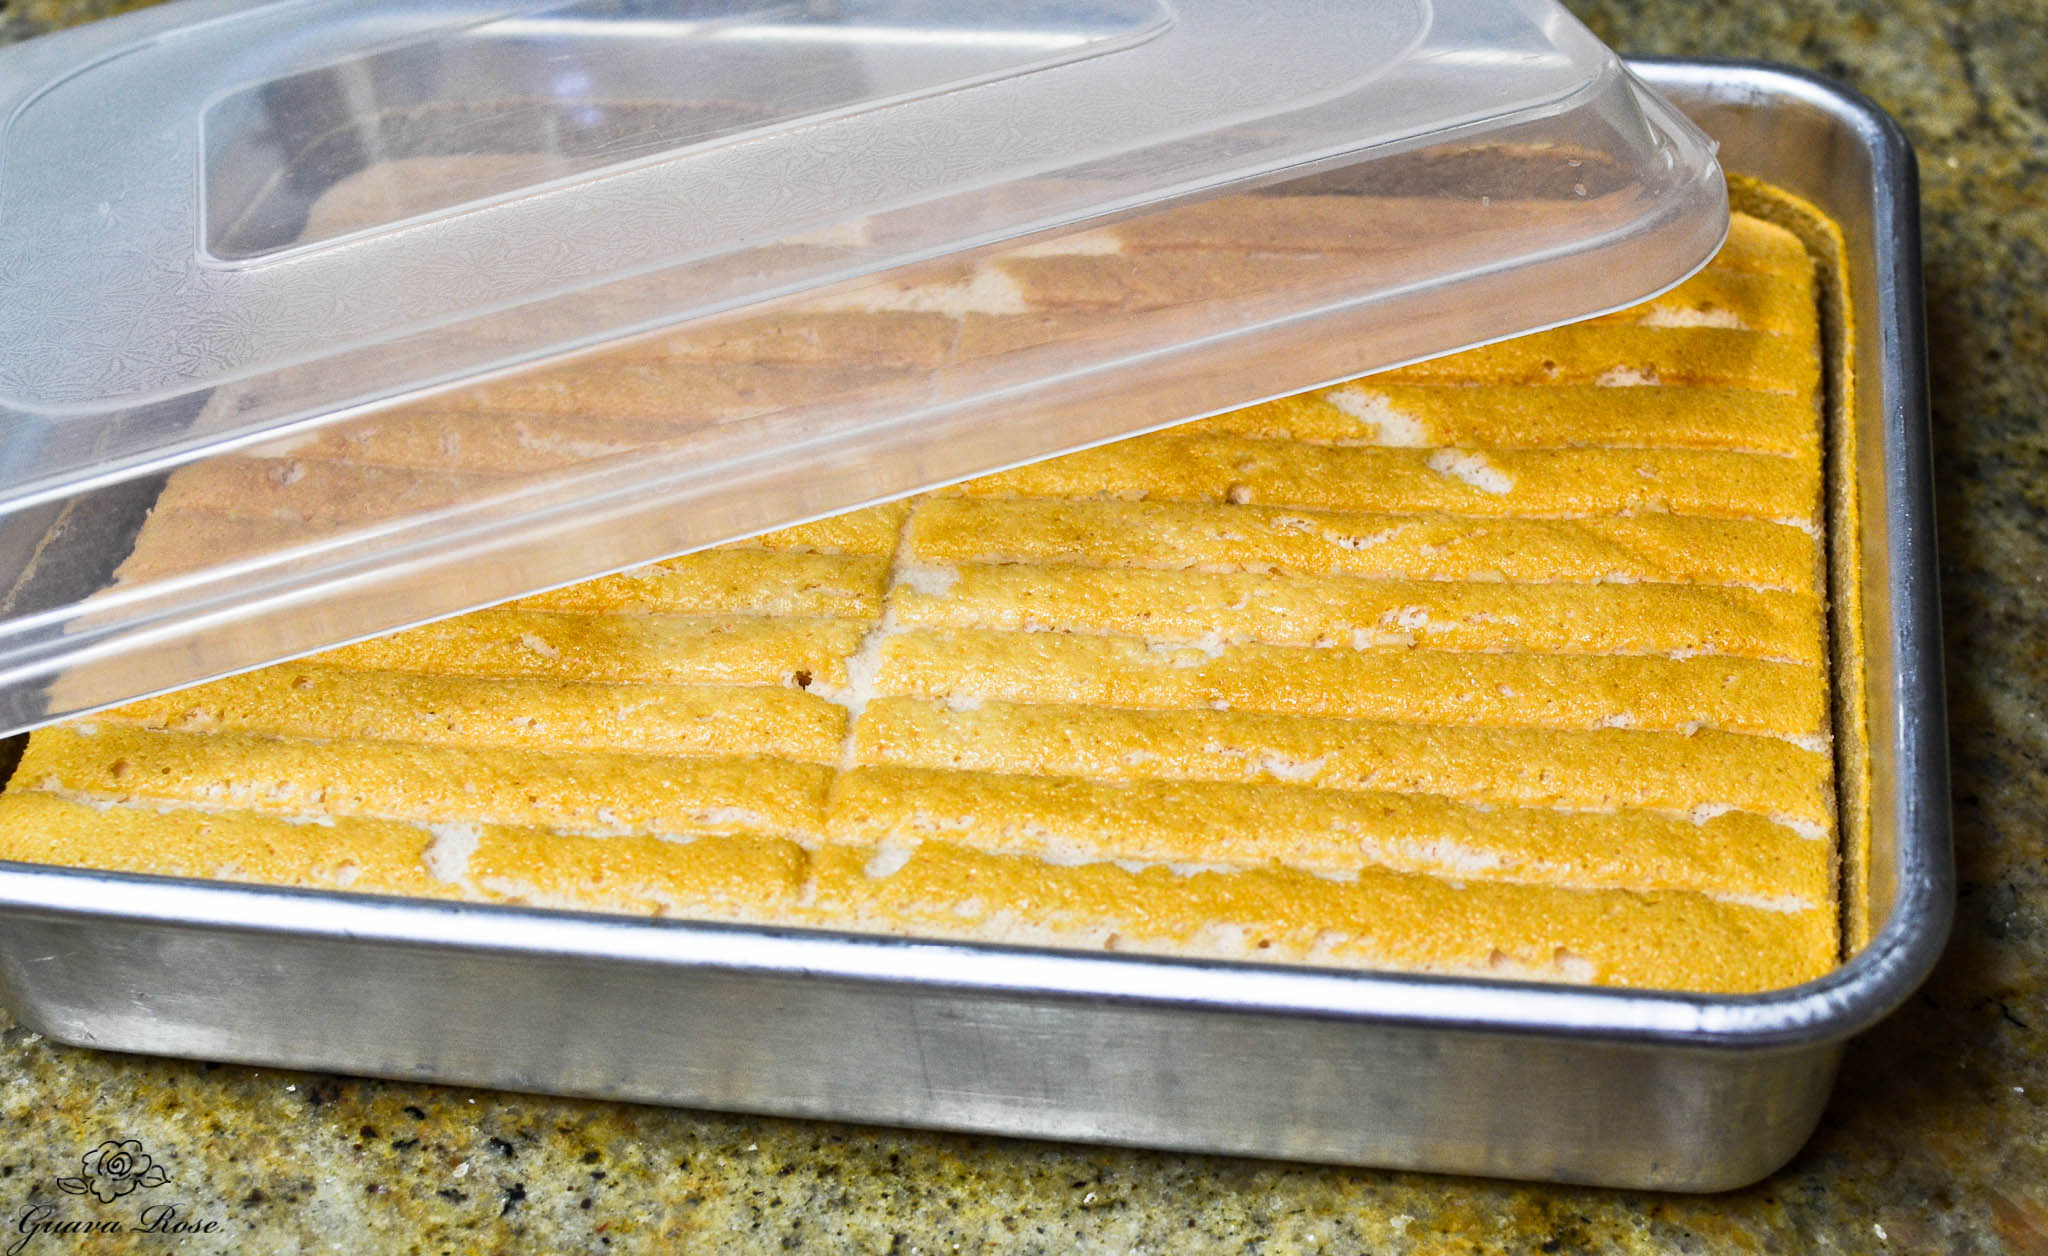
Cover well and chill it until you are ready to frost it.
Making the whole cake in stages is practical and less overwhelming. I usually bake the chiffon cake first, chill it while running errands/picking up kids (this could last anywhere from a couple hours to even overnight), then frost it later.


